Basic Guide
RoboDK is software for Simulation and Offline Programming. Offline Programming means that robot programs can be created, simulated and generated offline for a specific robot arm and robot controller. RoboDK can help you with manufacturing operations involving industrial robots.
This document is a basic guide to the RoboDK documentation. The RoboDK documentation is based on the Windows version of RoboDK.
Installing RoboDK
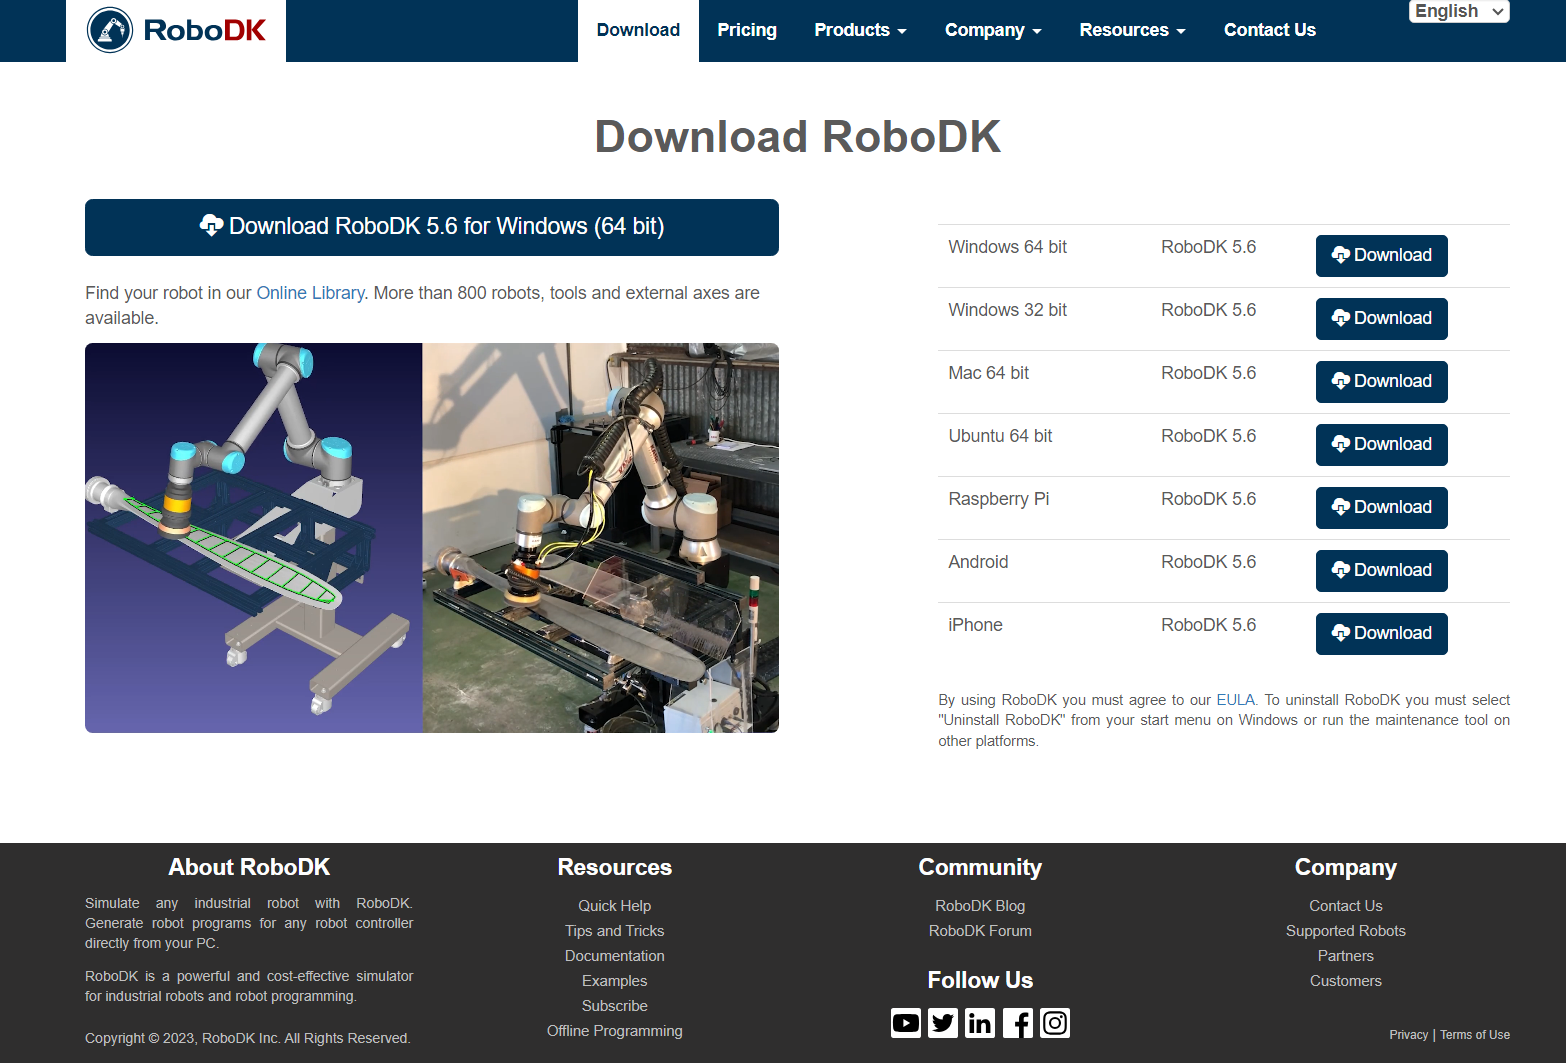
You can install RoboDK by downloading RoboDK from our website: https://robodk.com/download. You may need to fill in a form with your email to access the download. Once you’ve filled in the form you’ll be able to access the download immediately.
RoboDK is available for Windows, Mac and Ubuntu.
You can also use RoboDK for Web on any device using a browser. RoboDK for Web is a lighter and simplified version of RoboDK. Using RoboDK for Web requires a stable internet connection.
Starting RoboDK
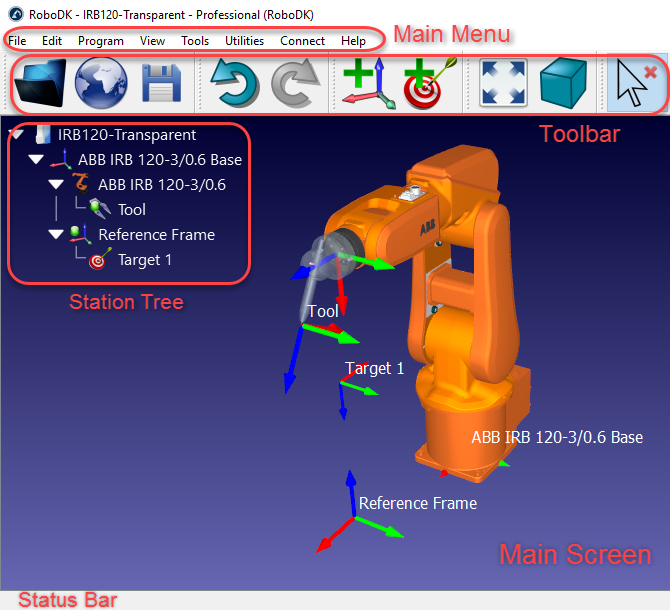
Double click the desktop shortcut to start RoboDK. You should see the RoboDK shortcut on your desktop after you installed RoboDK from our website. Double click the shortcut to start RoboDK.

The RoboDK window contains a Main Menu, a Toolbar, a Status Bar and the Main Screen. The Station Tree in the Main Screen contains all the items available in the station, such as robots, reference frames, tools, programs, etc. More information available in the Interface Section.
Select File➔
A library of robots is available online and you can access directly from RoboDK software.
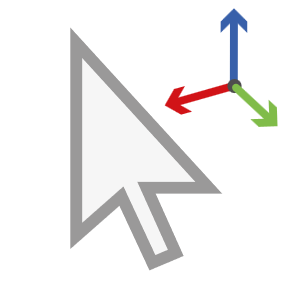
Throughout all RoboDK documentation, clicks on the screen are represented by the following icons:
|
|
|
Left click | Right click | Double click |


https://www.youtube.com/watch?v=xZ2_JEbS_E0&index=1&list=PLjiA6TvRACQd8pL0EnE9Djc_SCH7wxxXl
3D Navigation
Manipulating simulations in 3D requires navigating the 3D view in a comfortable way. The scene and all the contents have a fixed world reference frame (station reference) and the camera is moved to generate your desired point of view.
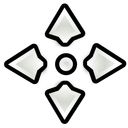
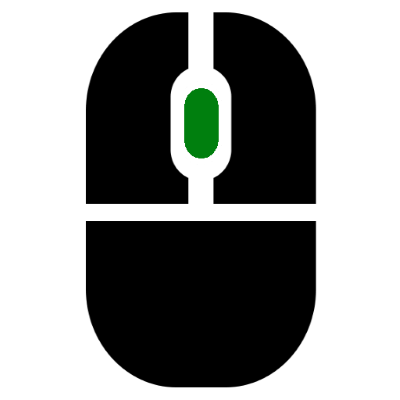
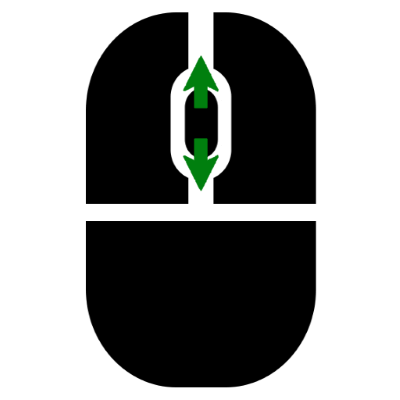
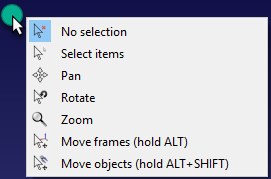
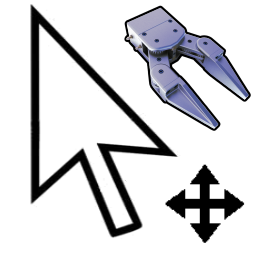
It is recommended to use a 3-button mouse to navigate in 3D. Alternatively, you can use a combination of Ctrl, Alt and Shift keys with a simple mouse left click perform Pan, Rotate or Zoom motions.
Select | Pan | Rotate | Zoom |
|
|
|
|
|
|
|
|
Left click | Hold mid button | Hold right click | Move mouse wheel |
Hold Ctrl to select more than | Hold Ctrl + Alt | Hold Ctrl + Shift | Hold Shift |


Right click on the main screen to see the same 3D navigation commands. This is useful if you are using a laptop and you don’t have access to a mouse.

Getting Started
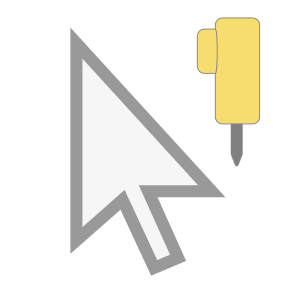
The Getting Started section shows how to build a simple project offline for a robot painting application in RoboDK using a UR10 robot. The example provides a general overview of some of the key features of RoboDK for Simulation and Offline Programming.
The getting started section includes:
1.How to Load a Robot from the 
2.How to 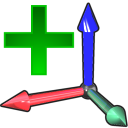
3.How to
4.How to 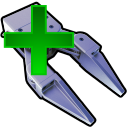
5.How to 
6.How to 
7.How to 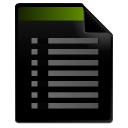
8.How to 
This example is available in the RoboDK library called Painting with UR10. You can download it and open the Painting-with-UR10.rdk file with RoboDK.
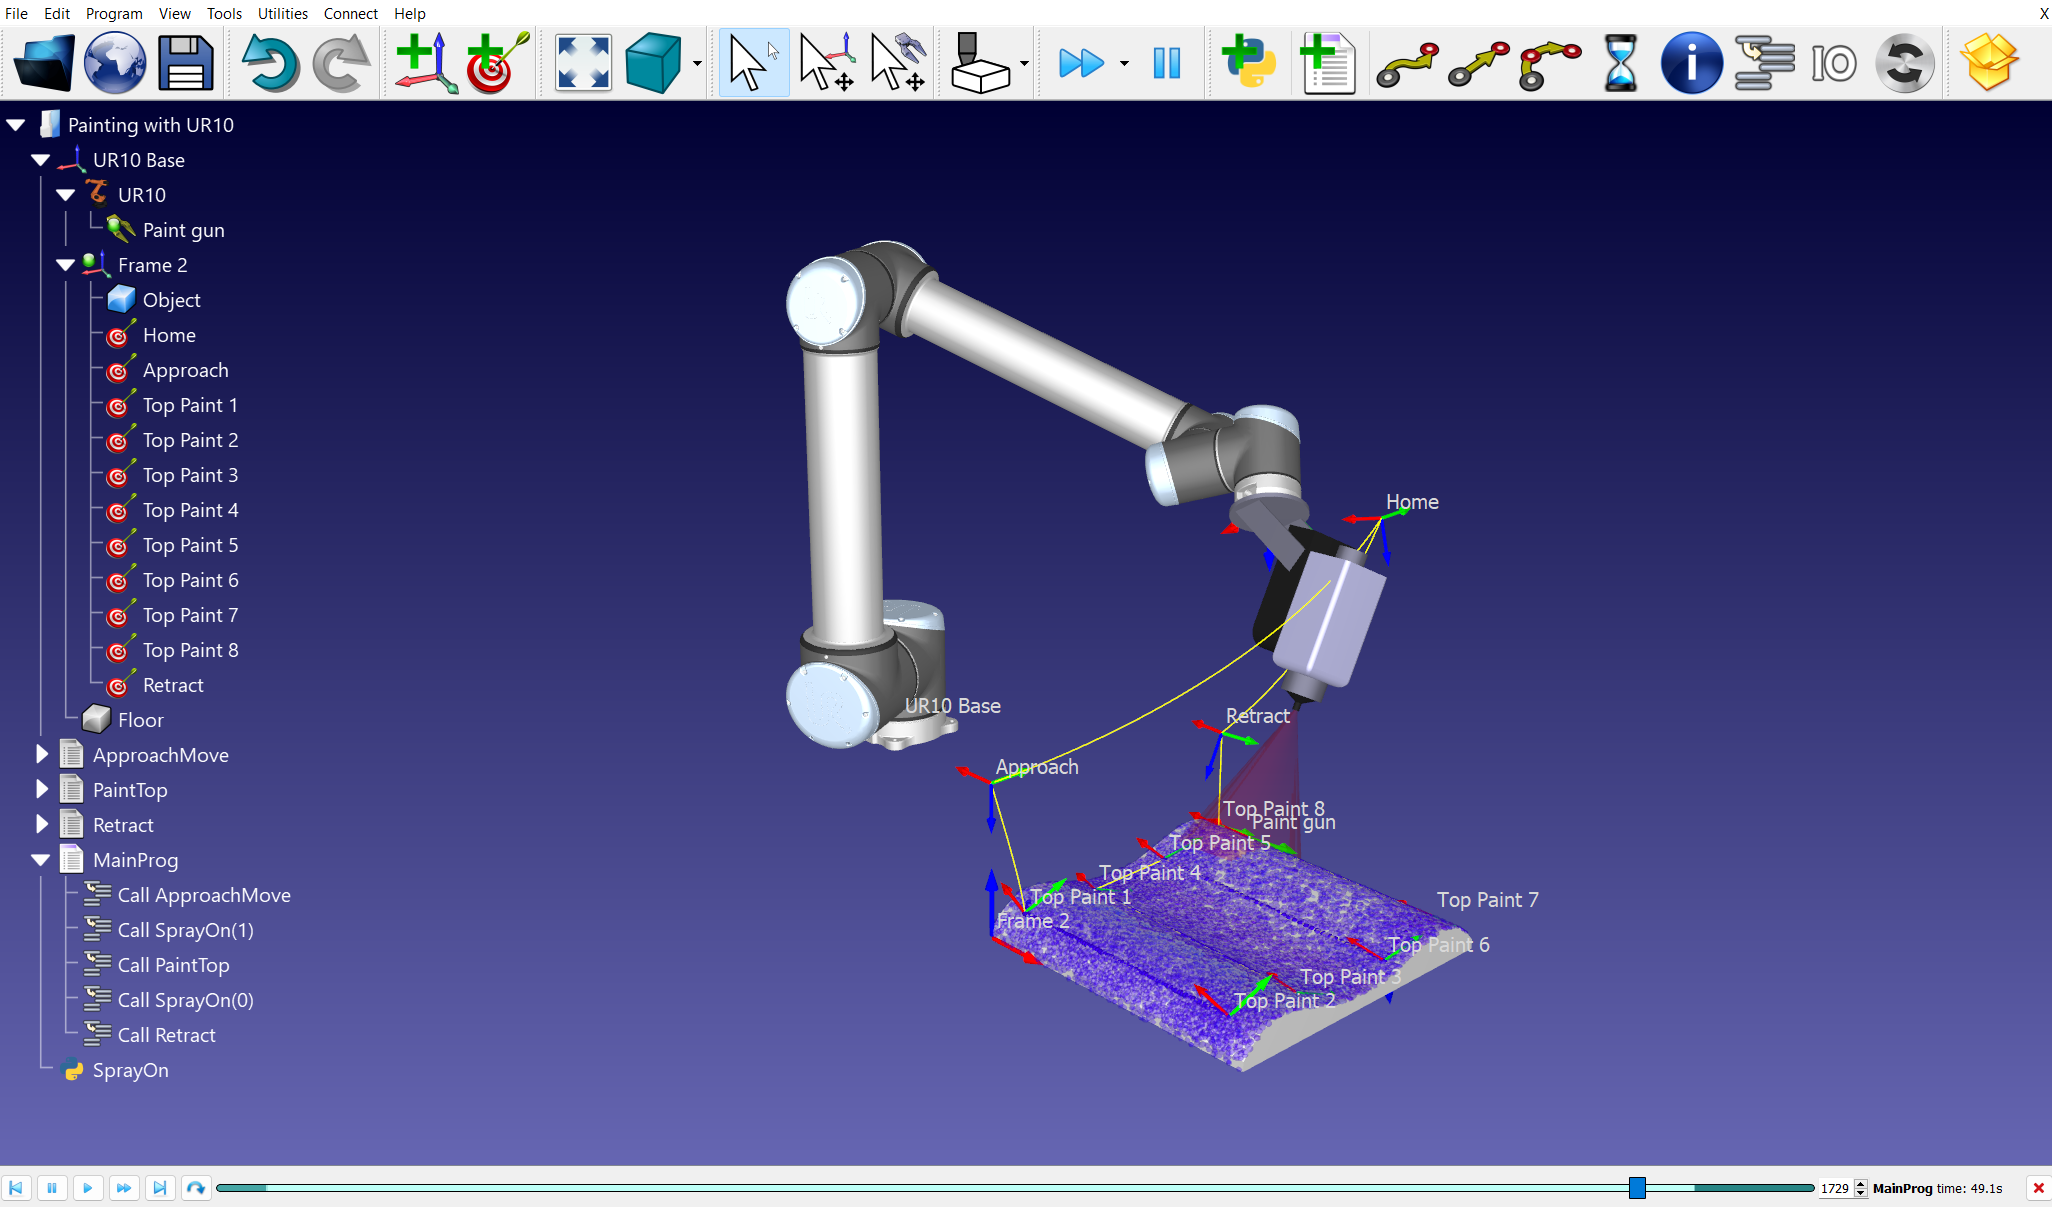
RoboDK Library
The RoboDK Library is library that offers a collection of robots, examples, tools, external axes, add-ins and post processors. The RoboDK Library can help you easily find and download your robots, look for examples, install addins or learn more about how to configure your post processor to generate program for your controllers.
You can access the RoboDK Library by navigating to https://robodk.com/library. You can also select File➔Open Robot Library from the main toolbar in RoboDK.
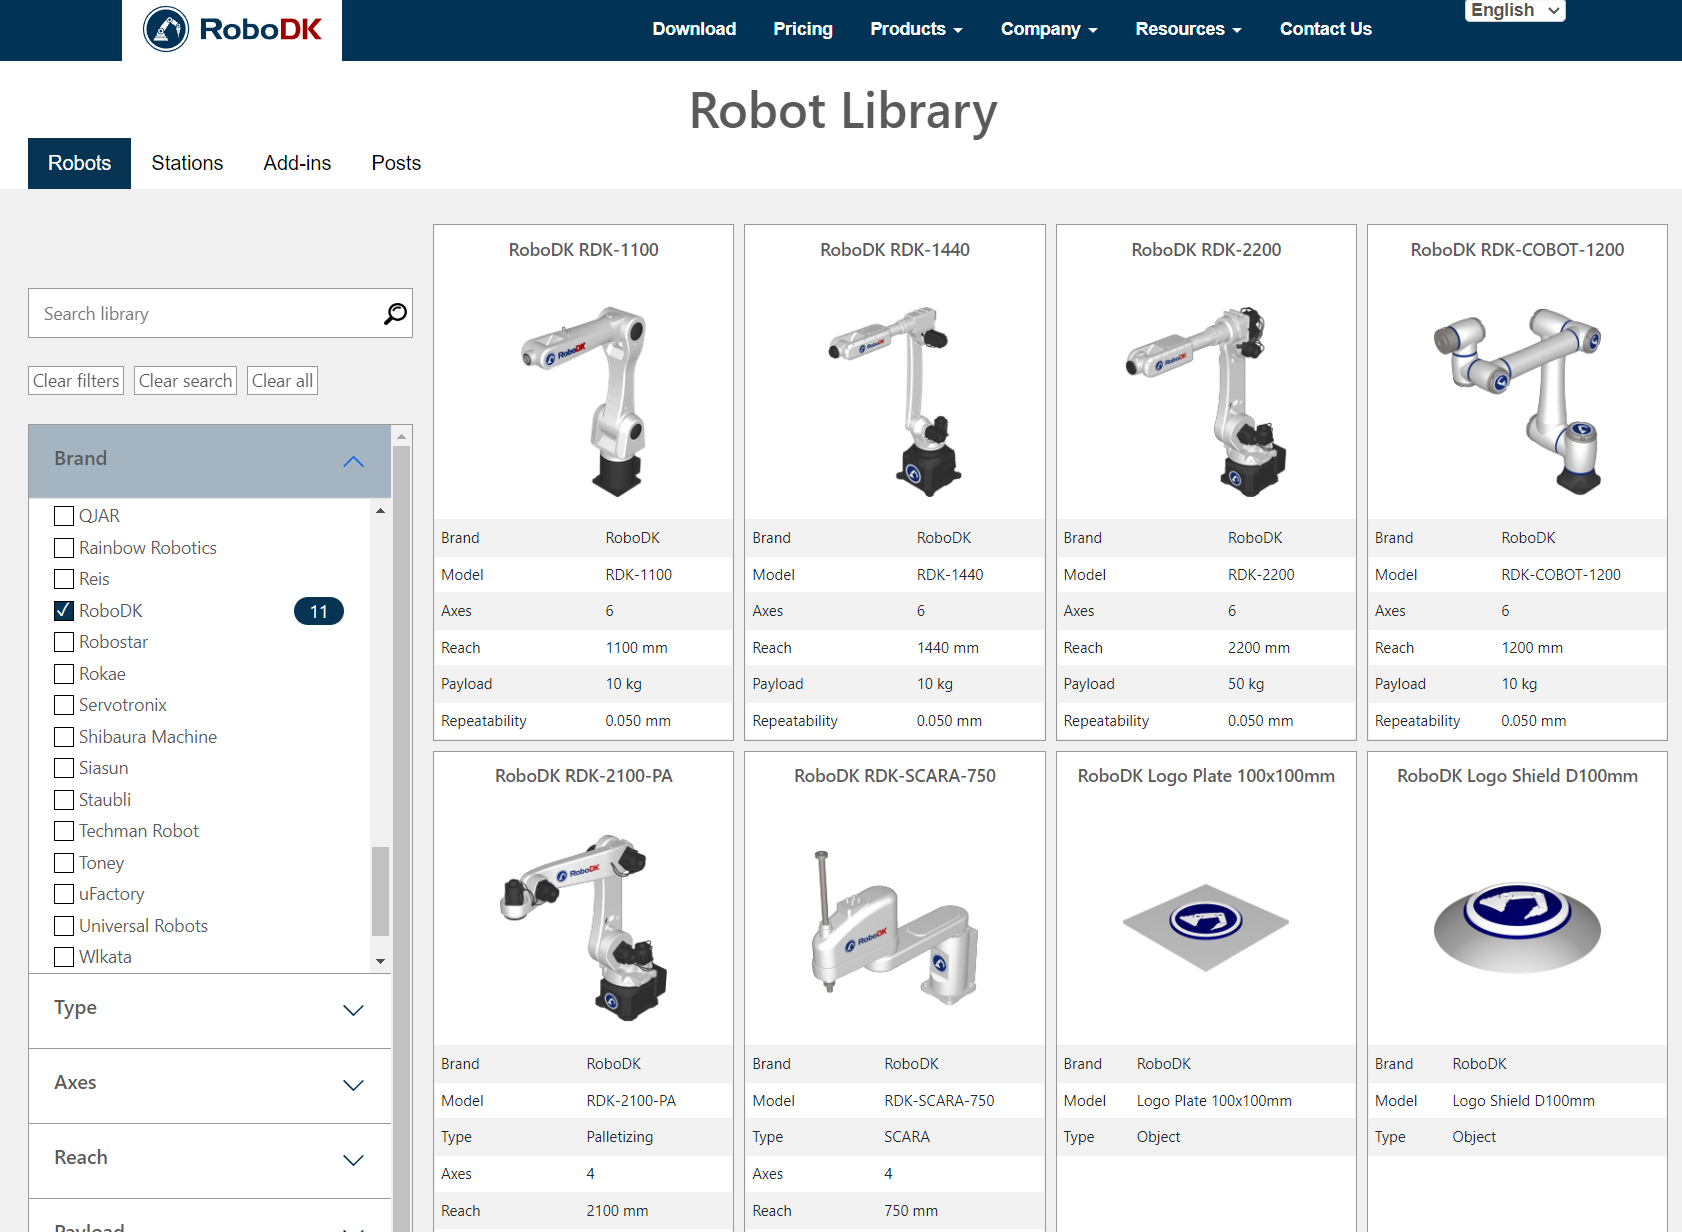
Searching for Library Items
Use the search bar at the top of the RoboDK Library to search for specific robots, examples, tools add-ins or post processors.
For example, when you are looking for a robot you can filter results by brand, type, or other criteria, depending on the active library. The displayed items will be automatically refreshed to account for your filters.
Library Categories
The RoboDK Library is split in different sections to ease searchability. These sections include Robots, Stations, Add-ins and Posts.
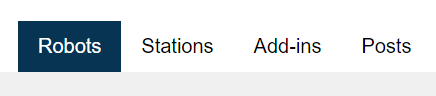
You can find the following sections or tabs in the library:
1.The Robots section provides an extensive collection of robotic equipment and accessories. This encompasses robot models such as robot arms, Delta robots, palletizing robots, and SCARA robots from industry-leading brands. The category also highlights external axes like turntables, positioners, linear rails, and gantries. For end-of-arm tooling, you can find tools ranging from grippers and welding guns to dispensers, sanders, grinders, spindles, tool changers, and flange adapters. Additionally, to complement your simulations, the category offers general-purpose objects like shapes, bottles, boxes, pallets, pedestals, cameras, tables, and sample parts, ensuring a comprehensive selection for all your robotic simulation requirements.
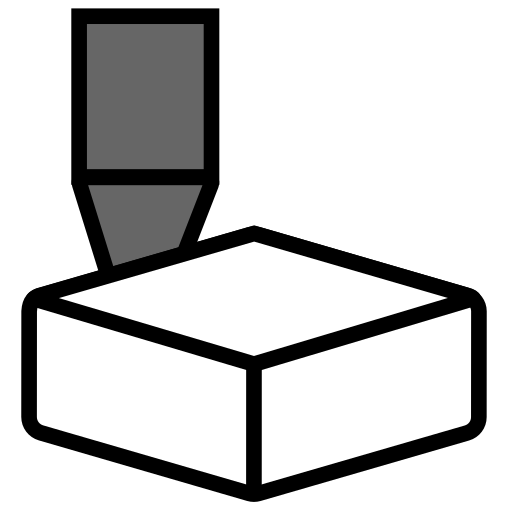
2.The Stations section offers pre-configured examples that demonstrate a variety of robotic applications, tools, and techniques. These example stations can be used as foundational templates or as references for individual projects. The applications showcased span a wide spectrum, including additive manufacturing, material handling, dispensing, cutting, milling, drilling, grinding, machining, painting, palletizing, welding, and many others, ensuring a diverse and comprehensive insight into robotic applications.
3.The Add-ins section allows you to explore available add-ins designed to extend and customize RoboDK's functionalities. Add-ins includes Apps (Python based) and Plug-ins (C++ interface), both by RoboDK and 3rd party contributors. Some Add-ins are separate paid options that should be added to RoboDK software.
4.The Posts section allows you to browse the list of post processors available by default with RoboDK. These posts make programs generated by RoboDK compatible with different robotic arms, controllers and CNC machinery. These post processors enable RoboDK to generate robot programs for specific robot controllers. Popular options include ABB, Fanuc, KUKA, Yaskawa Motoman, Staubli, Universal Robots, and several others, ensuring compatibility across a wide spectrum of robotics platforms.
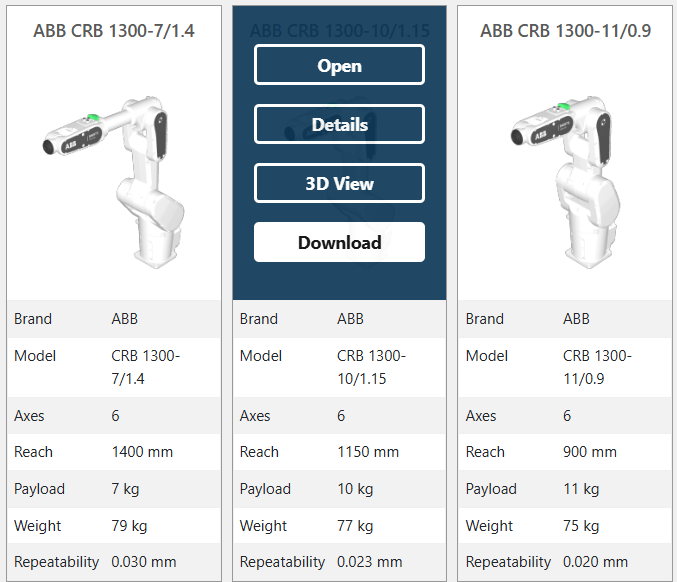
Library Actions
A menu with some options is displayed over items in the library when your mouse is hovering over the image.
Depending on the content, the following actions are possible:
1.Open: Directly open the item in your running instance of RoboDK Desktop.
2.Details: Open a new tab with more information on the item.
3.3D View: Open the item in RoboDK for Web, a web-based version of RoboDK.
4.Download: Download a local copy of the item.
Toolbar Menu
The RoboDK Toolbar contains graphical icons that allow quick access to frequently used actions in the menu.
RoboDK 5.7 and newer versions benefit from redesigned icons, which can be activated with Tools➔Option➔General➔Use modern icons. More information in the Interface section.
The following commands are available in the toolbar by default.
Legacy | Modern |
|
|
| Open |
|
| Open online library |
|
| Save Station |
|
| Undo |
|
| Redo |
|
| Add a reference frame |
|
| Add a new target |
|
| Fit All |
|
| Isometric View Display the default 3D isometric view |
|
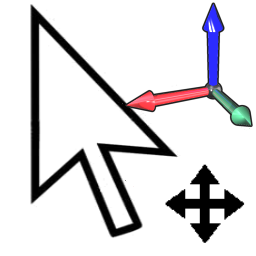
| Move reference Frames |
|
| Move TCP (robot tool) |
|
| Check collisions |
|
| Fast simulation |
|
| Pause simulation |
|
| Add Program |
|
| Add Python Program |
|
| Move Joint Instruction |
|
| Move Linear Instruction |
|
| Export Simulation |


Shortcuts
This section provides useful shortcuts and their equivalent buttons in the toolbar.
Alt |
| Move a reference frame |
Alt+Shift |
| Move a TCP (tool) |
F1 |
| Show this help guide |
F2 | Rename item | |
F6 |
| Generate selected program(s) |
F7 | Show/hide selected item(s) | |
Alt+0 |
| Fit to selected item(s) |
Ctrl+1 | Load last file or RoboDK station | |
/ | Show/hide text on screen | |
+ | Make Reference frames bigger | |
− | Make Reference frames smaller | |
* | Show/hide robot workspace |

Reference Frames
A Reference Frame defines the location of an item with respect to another item with a given position and orientation. An item can be an object, a robot or another reference frame. All Offline Programming applications require defining a reference frame to locate the object with respect to a robot to update the simulation accordingly.
Drag & drop any reference frame or object within the Station Tree to define a specific relationship, such as the nested reference frame shown in the following image.
It is common to define the location of one or more reference frames with respect to the robot by touching 3 points. This allows placing objects in the virtual space. The procedure can be accomplished using the robot teach pendant or RoboDK (more information available in the Calibrate Reference Frame section).
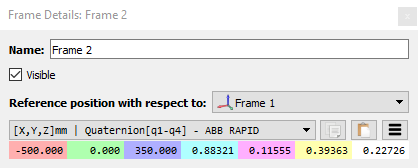
With RoboDK it is possible to manually enter the translation and rotation values, including different rotation orders of the Euler angles.
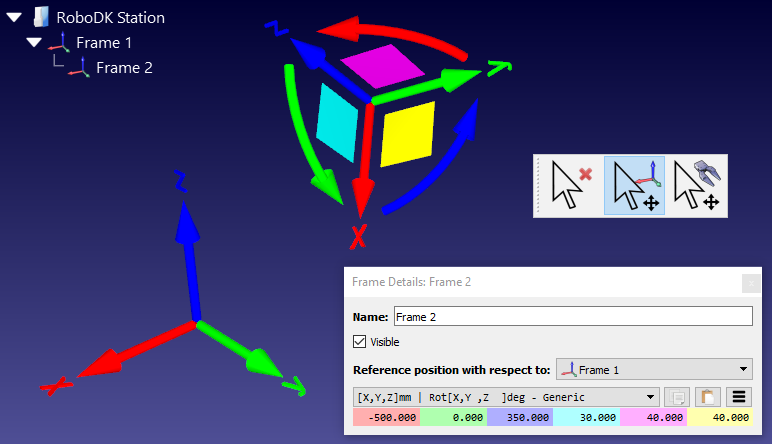
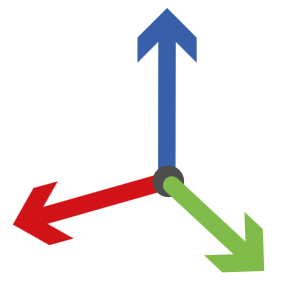
By default, RoboDK displays the relationship as the XYZ position and the Euler angles in the X➔Y➔Z format. This means the rotation is made in the following order:
1.First: a rotation is made around the X axis (light blue case).
2.Second: a rotation is made around the static Y axis (pink case).
3.Third: a rotation is made around the static Z axis (yellow case).
For example, Fanuc and Motoman controllers use the previously described format, however, other robot manufacturers handle the rotation order in a different way.
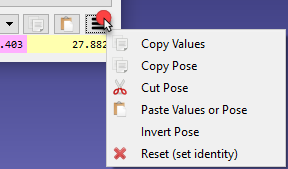
It is possible to select among different orientation formats from the dropdown list of the reference frame details window (double click a reference frame).
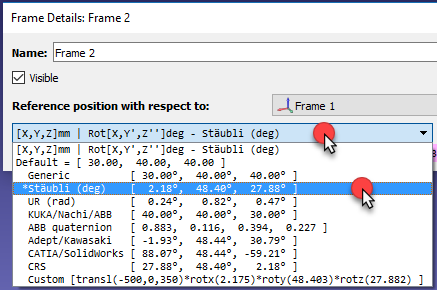
For example, Stäubli robots use the X➔Y’➔Z’’ order, or KUKA and Nachi robots use Z➔Y’➔X’’. On the other hand, ABB controllers use Quaternion values, which require 4 values to define the rotation:
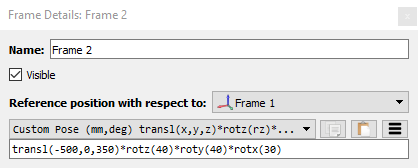
It is also possible to manually enter a customized format. For example, the following command is displayed when the Script (Custom Pose) option is selected:
RoboDK for Web
RoboDK for Web is a cloud-based version of RoboDK software. It offers the flexibility and accessibility of a web-based platform, allowing users to quickly and easily simulate robots without the need to install RoboDK for Desktop.
RoboDK for Web is a light version of RoboDK software, suitable for quick simulations, to share your project by exporting your simulations or for those new to RoboDK willing to try its capabilities. For industrial-scale projects, in-depth simulations, and advanced functionalities, we recommend using the RoboDK desktop application.
To access RoboDK for Web:
1.Open your preferred web browser.
2.Navigate to the RoboDK for Web URL: https://robodk.com/web.
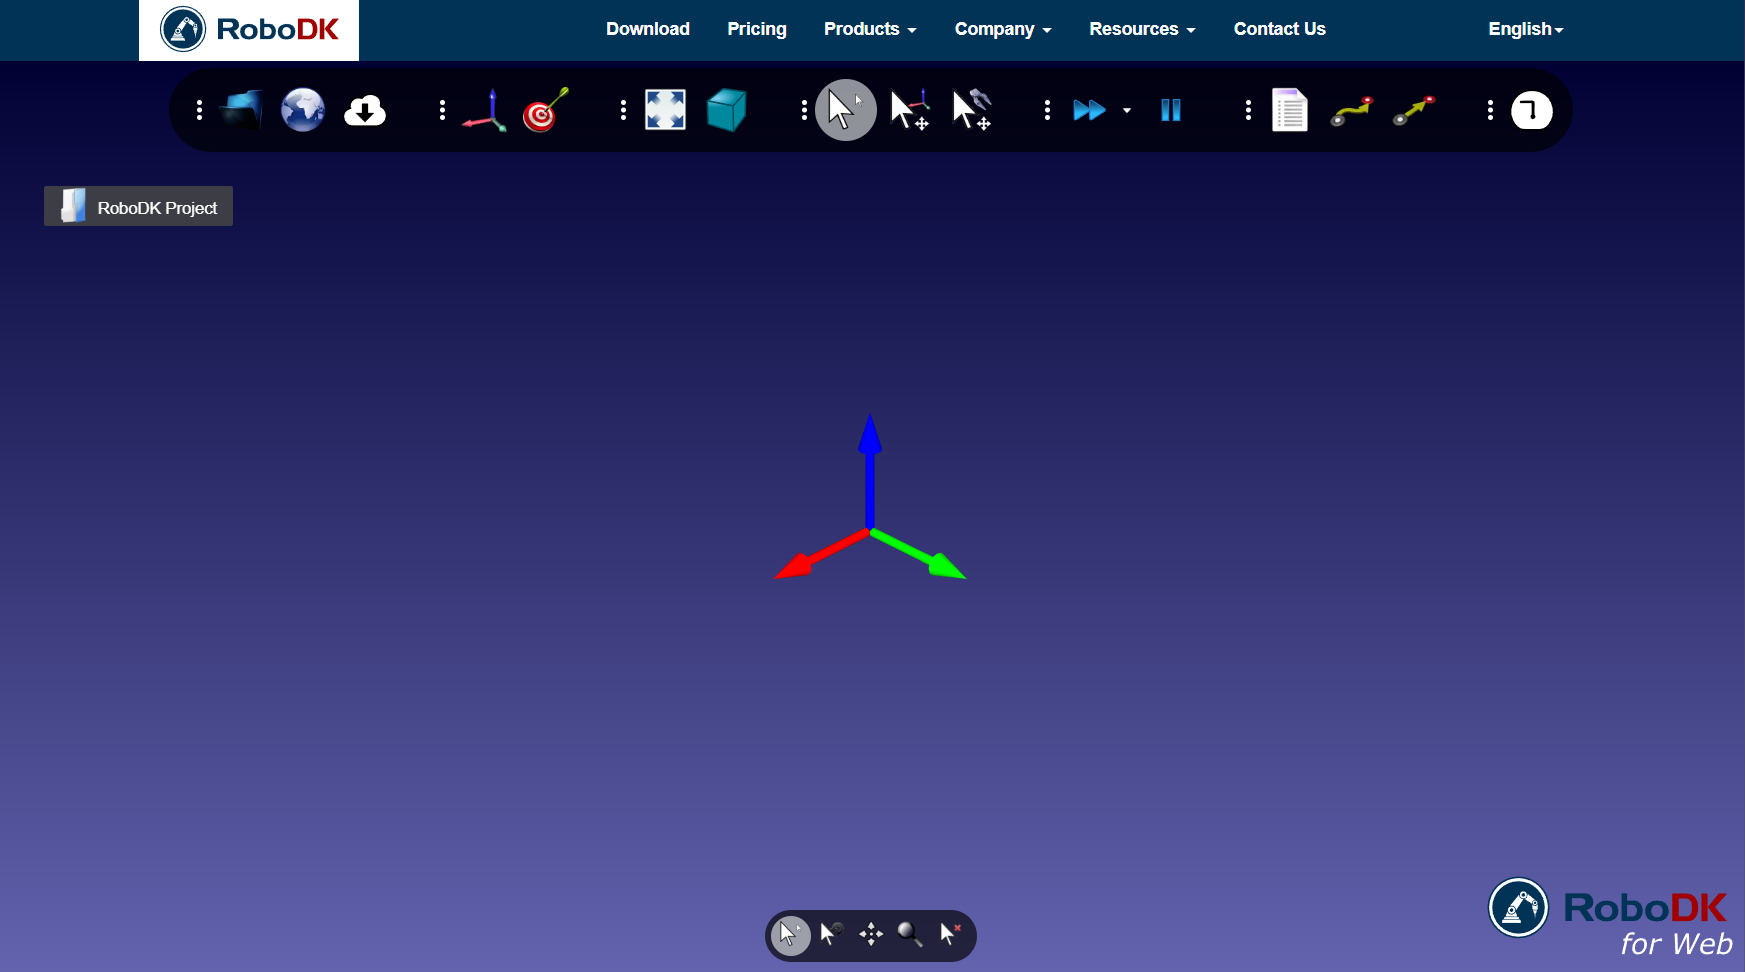
RoboDK for Web shares almost the same icons as RoboDK desktop. Refer to this the toolbar section of the documentation for more information.
You can also refer to the Getting Started guide to learn more about basic functionalities of RoboDK.
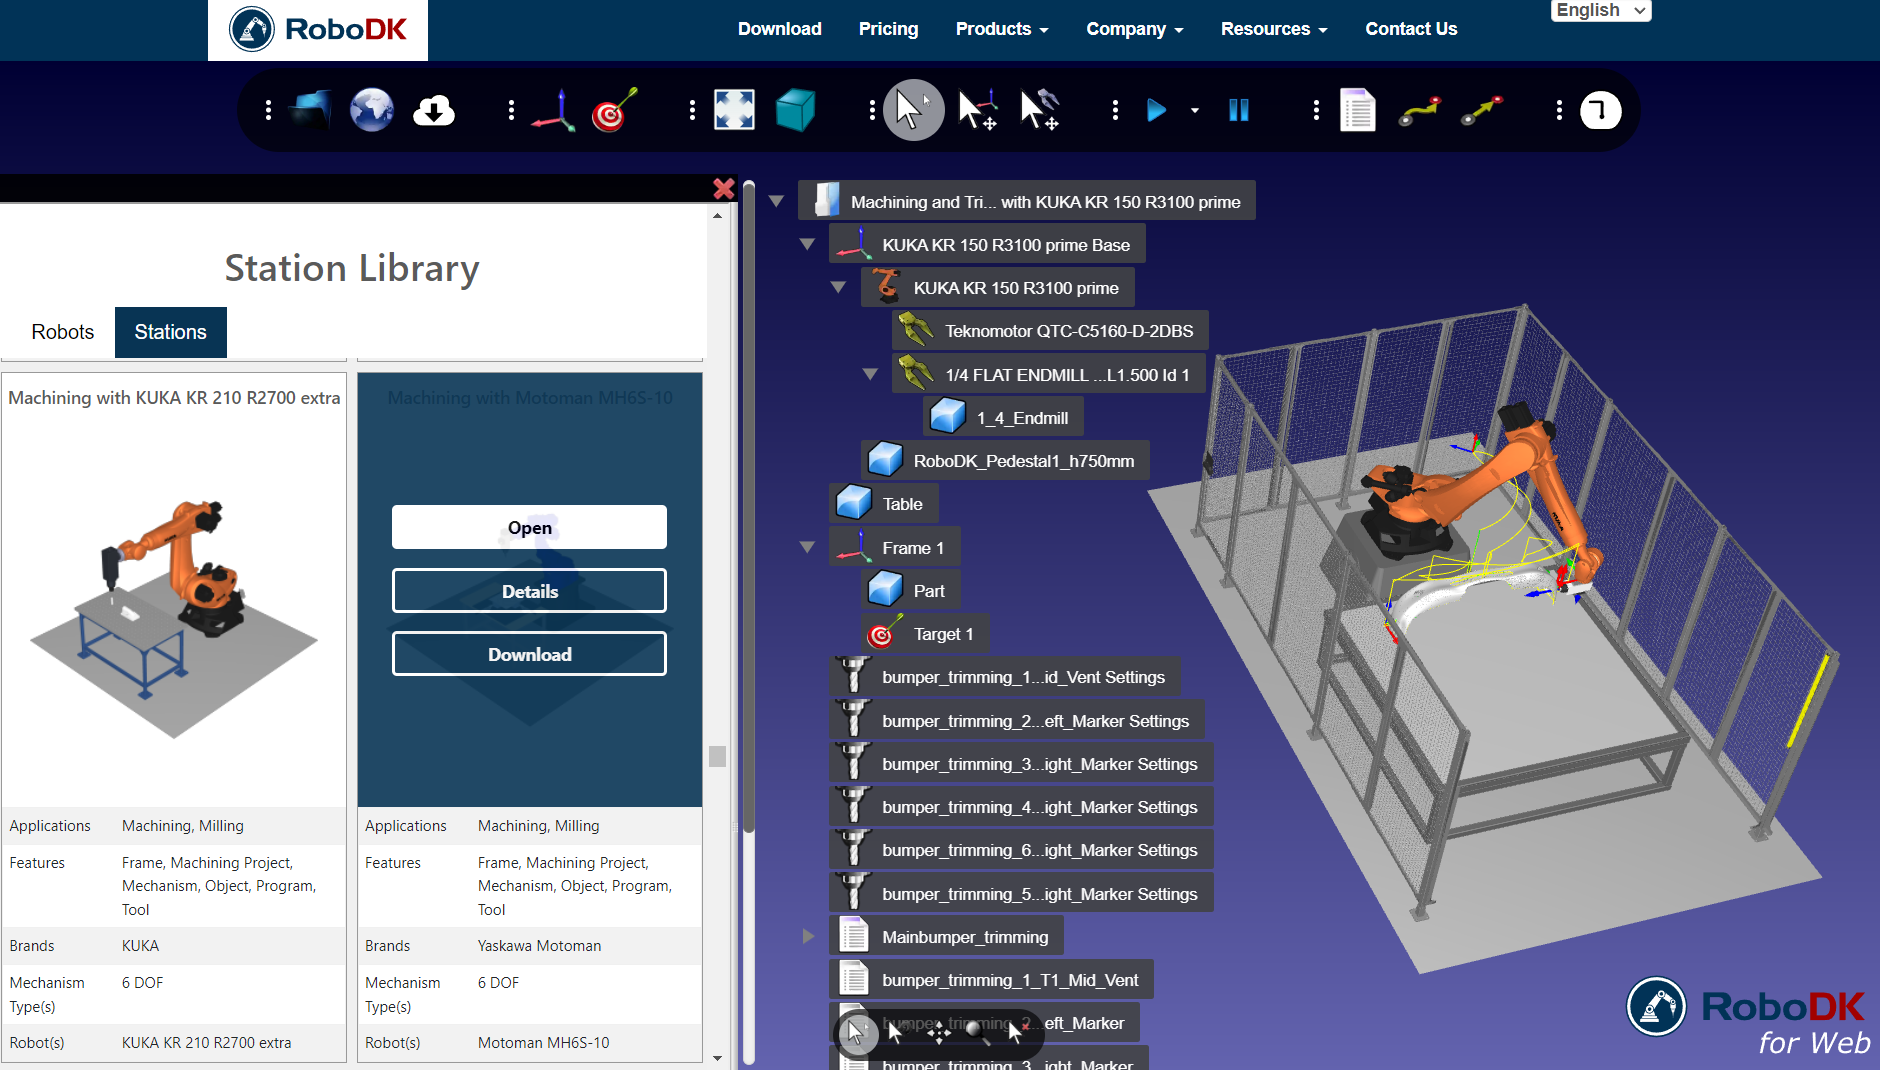
Browsing the library
The RoboDK Online Library is directly accessible from RoboDK for Web when clicking on the Open online library icon. You’ll see a window with the robots, tools and examples available in the library.
To add an item to your project you can simply hover over the object and click Open.
Double click on a program to start the simulation. You can also load 3D files from your computer, create new targets, simulations and generate programs.
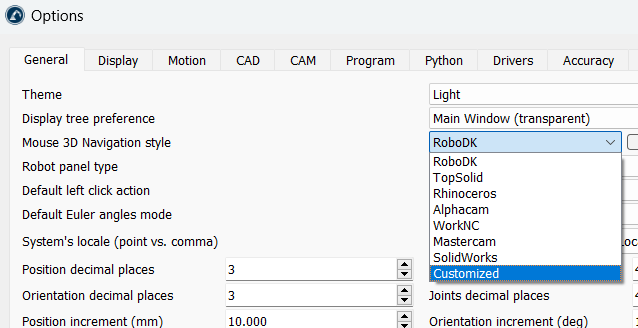
Set Default Settings
Select Set Default Settings in the Tools-Options menu to set the default RoboDK settings. More information available in the Options Menu Section.
Select Tools➔Language and select English to change the language to English.
Select Tools➔Toolbar Layout➔Set Default Toolbar to set up the default toolbar.
Select Tools➔Options➔Python➔Set default Python Settings to set up the default Python settings. More information in the RoboDK API section.
Request support
You can request support directly from RoboDK software by selecting Help➔Request support.
You can find more information about how to setup your license in the license FAQ section: https://robodk.com/lic-FAQ.
The RoboDK forum is an active community where you can ask questions and get answers from a RoboDK expert.
The free version of RoboDK allows you to follow most of the steps mentioned in the documentation. Using advanced features such as robot machining, robot welding projects, 3D printing, advanced CAD to path features or saving complex simulations require purchasing a license. You can find information about RoboDK pricing in the pricing section.
Educational licenses can be purchased by universities or schools only. Also, Educational licenses should not be used for production purposes.
RoboDK Requirements
RoboDK does not have special hardware requirements as it can run on most computers, including Windows, Mac, Linux-based systems.
The following list shows the recommended hardware requirements:
1.Operating System: Windows Vista, Windows 7, Windows 8, Windows 10 or Windows 11 (32-bit or 64-bit version), Mac OS (64 bit), Ubuntu 16 or Ubuntu 18 (64 bit).
2.Memory: 2 GB minimum. Recommended 4 GB or more.
3.Graphics Configuration: A minimum 1024x768 pixel resolution display. The graphics driver should support OpenGL 3.0 or later. Graphics cards with hardware accelerated OpenGL including internal memory are recommended. Support for graphics is not required if you are running RoboDK as a process.
4.Hard Disk Drive Space: 15 GB, 1 GB free.
5.Mouse recommendation: 2-button (minimum), 3-button or 2-button with middle mouse wheel is recommended.
6.Internet: Internet connection is required to activate Network licenses (default licenses). Firewalls should not block ports 80 & 443 (Network licenses only). Alternatively, you can request a USB dongle license.
7.Certain features might require additional software to be installed in the same computer. For example, some drivers require special paid options sold by the robot manufacturer. Also, as another example, Fanuc's ROBOGUIDE software is required to compile Fanuc LS files to TP files if your Fanuc robot doesn't have the "ASCII Upload" option.
Robot calibration, performance testing and other options requiring external measurement systems are not included with the default RoboDK license. These features are sold as separate options, including updates and support. RoboDK licenses do not include any measurement systems or hardware of any kind.
Troubleshoot Issues
RoboDK may not start when using a Remote Desktop connection or if you are running RoboDK on a Virtual Machine. To solve this problem, you can start RoboDK by double clicking the file RoboDK-Safe-Start.bat located in the C:/RoboDK/ folder.
Starting RoboDK with this command solves any problems when running RoboDK using a Remote Desktop connection or a Virtual Machine.
Visit the robot connection troubleshoot section to fix issues related to the communication between your PC and the robot.