RoboDK Add-In for FreeCAD
The RoboDK Add-in for FreeCAD allows you to load 3D models, curves and points directly from FreeCAD to RoboDK. With this plugin, you can easily combine FreeCAD software for 3D modelling and RoboDK for simulation and offline programming of industrial robot arms.
FreeCAD software is a parametric 3D modeler made primarily to design objects. Parametric modeling allows you to easily modify your design by going back into your model history and changing its parameters. FreeCAD is free CAD software and open source.
Add-In setup
If you installed RoboDK after installing FreeCAD, you should have the RoboDK plugin for FreeCAD already installed.
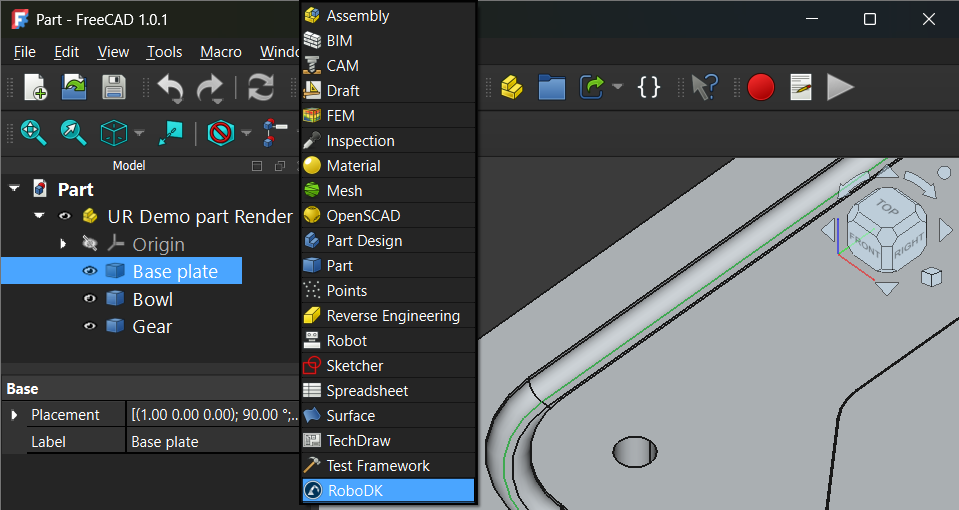
The RoboDK commands are available by selecting RoboDK from the workbench drop-down list:
If you prefer to have a custom RoboDK toolbar you can create it separately by following these steps:
1.Start FreeCAD.
2.Set up and add the RoboDK custom toolbar:
a.Select Tools➔Customize…➔Toolbars.
b.Select Category➔RoboDK.
c.Create a new custom toolbar in Global category.
d.Add required RoboDK commands from the list on the left side using ➔ button.
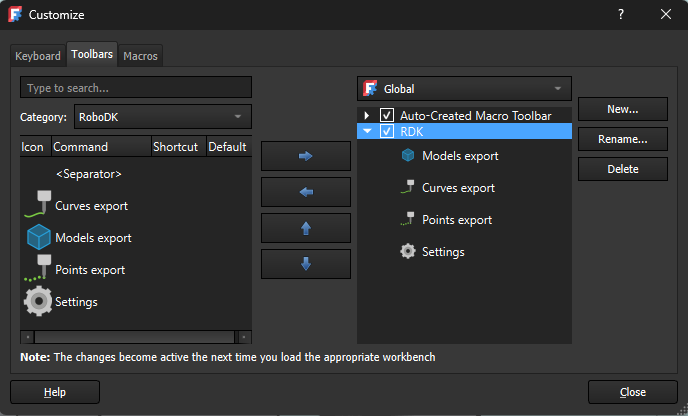
Once this is done, FreeCAD will display a custom RoboDK toolbar as shown in the following image.

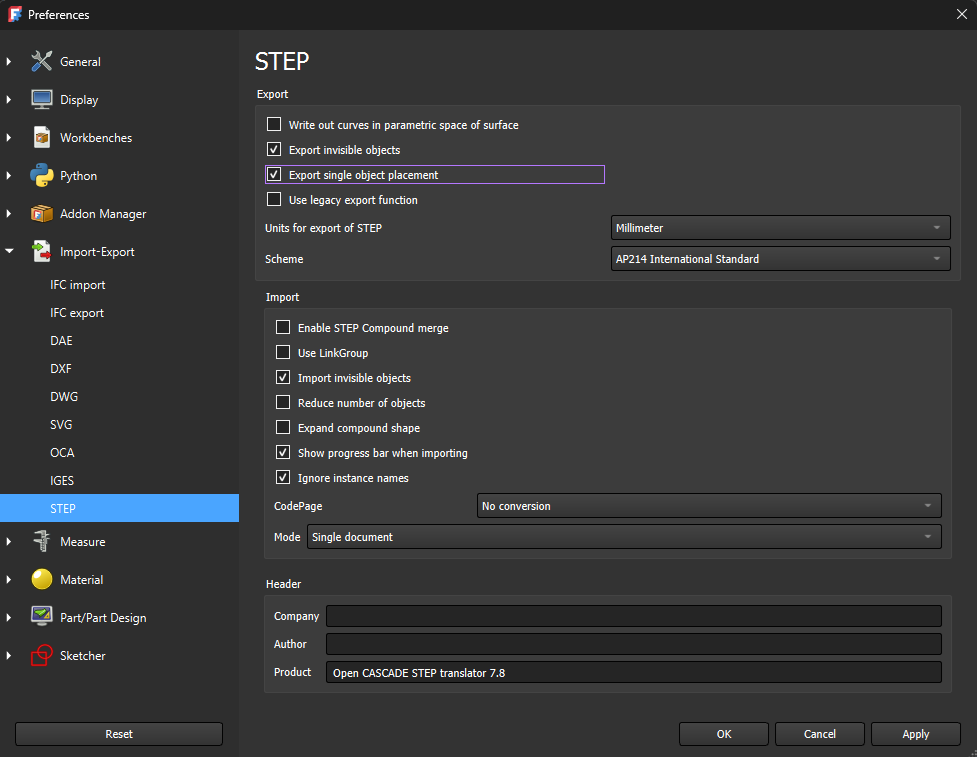
FreeCAD STEP export settings
To make the models exported with the proper coordinate system it’s necessary to activate the following option:
Edit → Preferences… → Import-Export → STEP → Export single object placement
RoboDK Toolbar for FreeCAD
When you open FreeCAD software, you should see the RoboDK option listed in the workbench’s dropdown. Select the RoboDK toolbar to see the available RoboDK commands.
Follow the FreeCAD Add-in setup instructions if you don’t see the RoboDK toolbar.
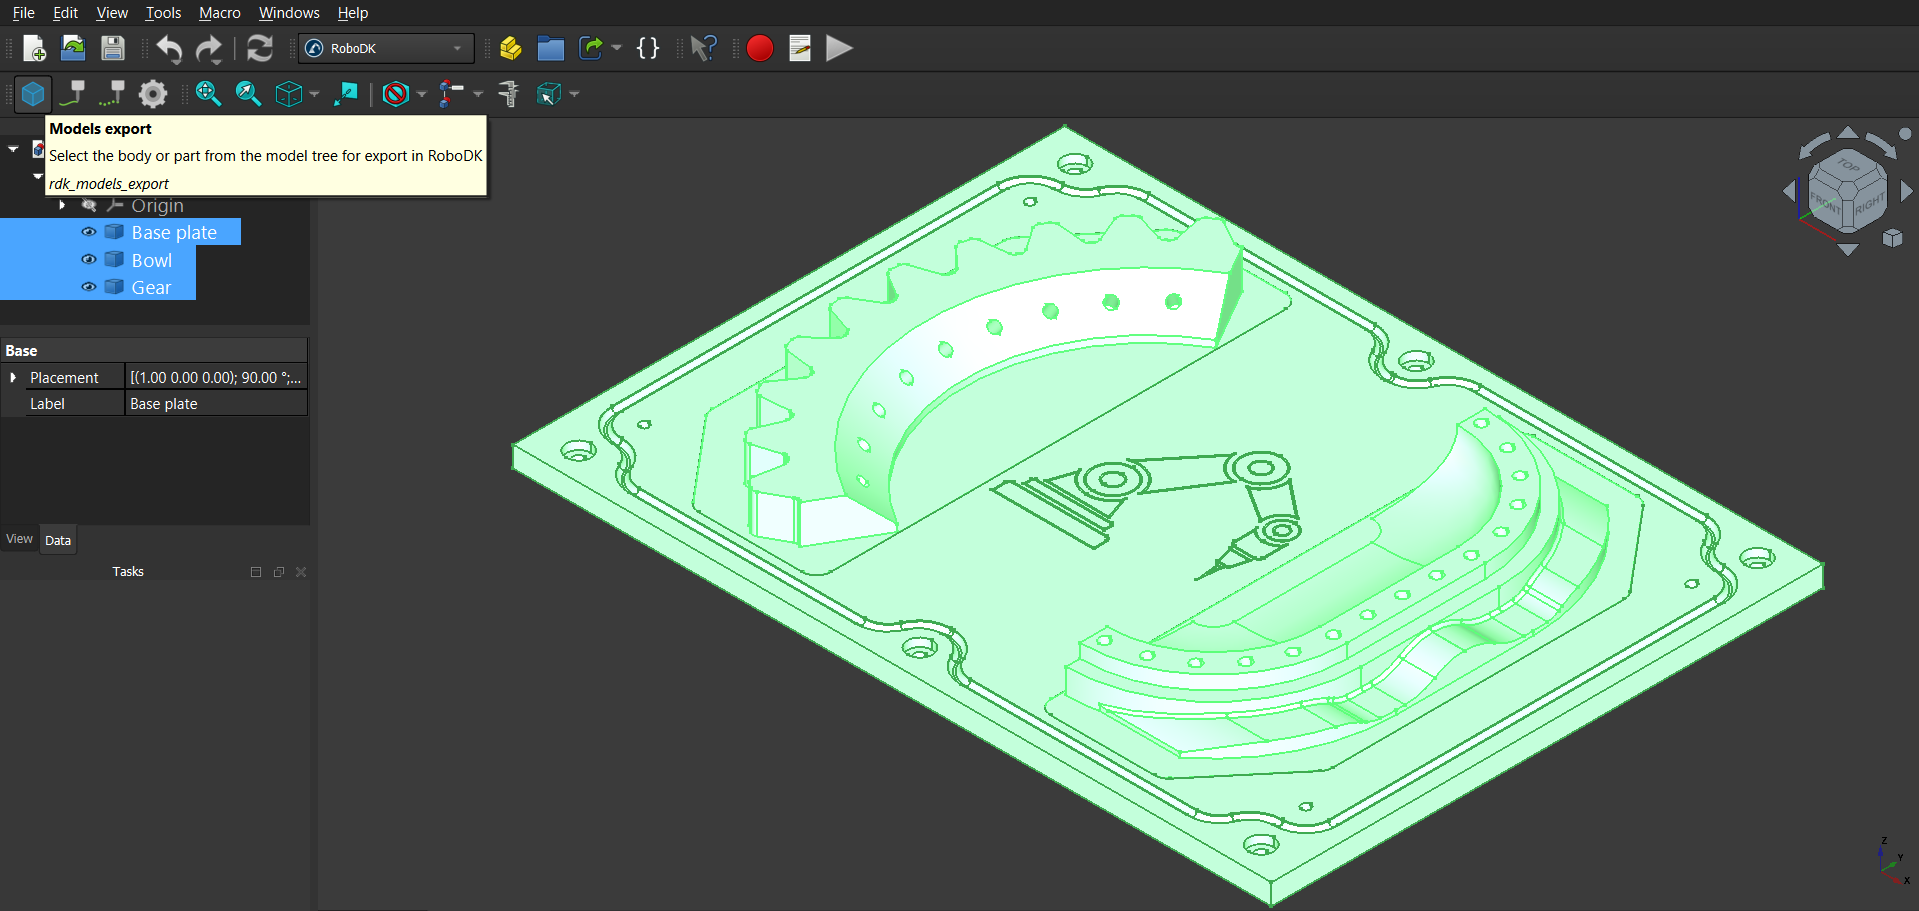
Load Models
The Load Models button loads the selected 3D model or components of the part from FreeCAD to RoboDK.
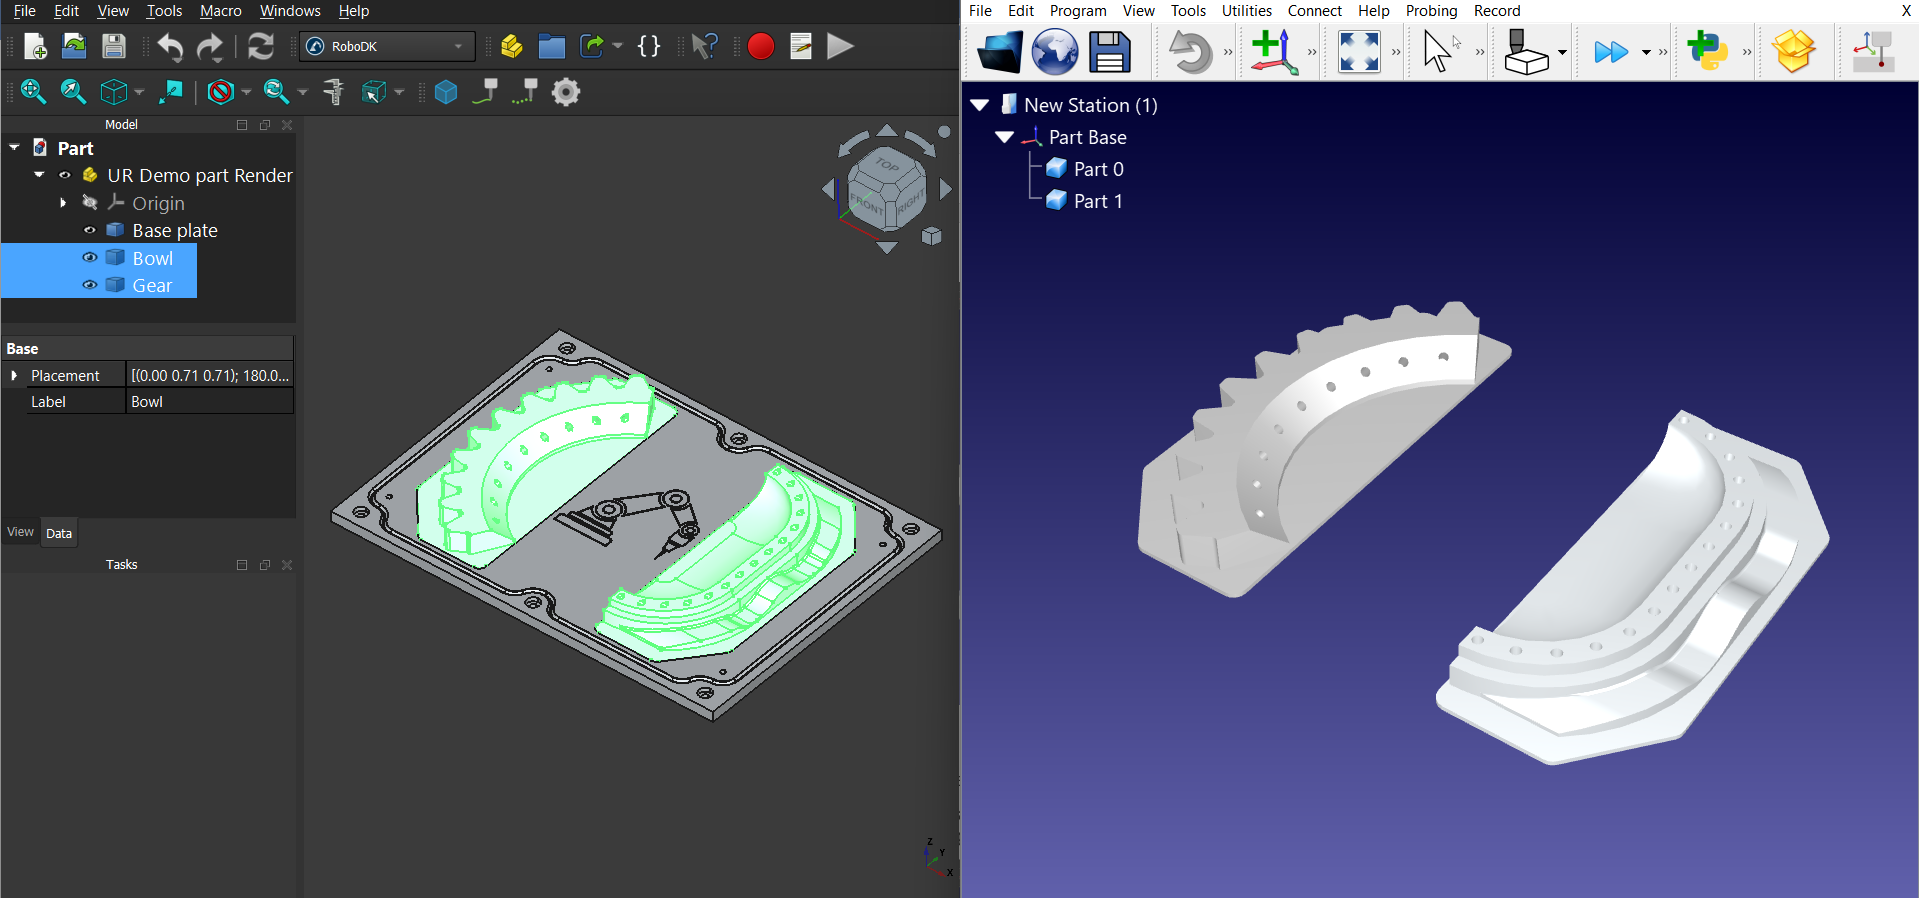
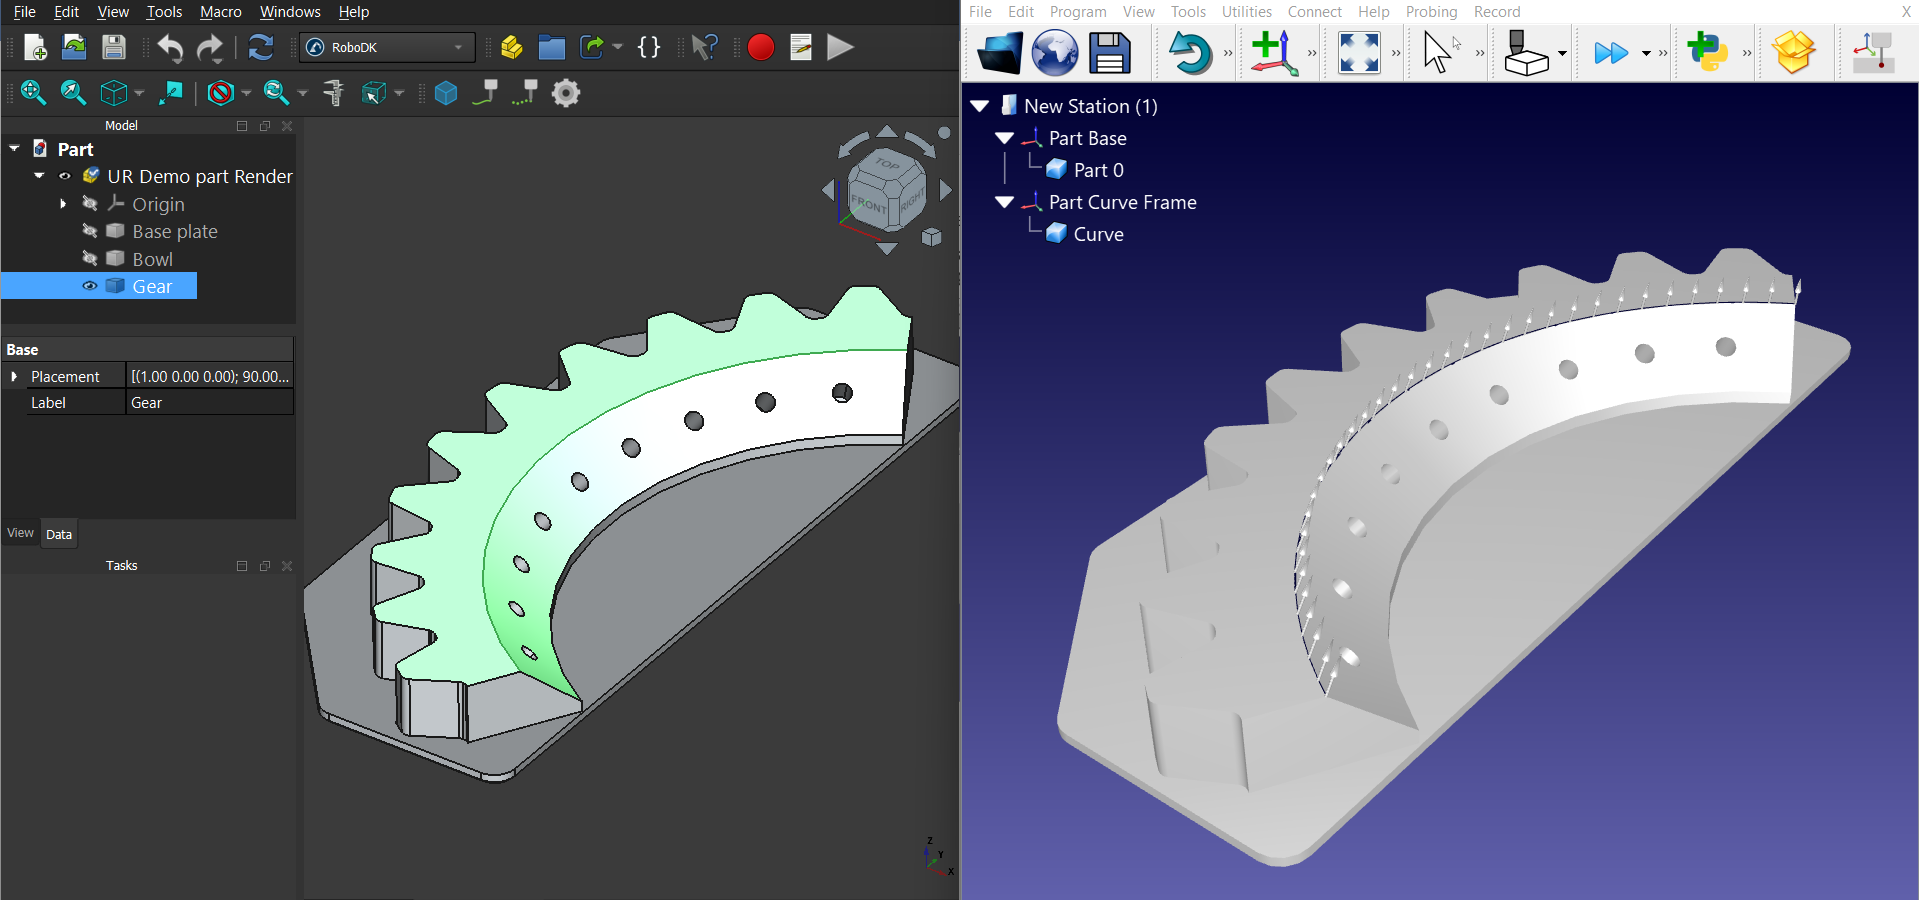
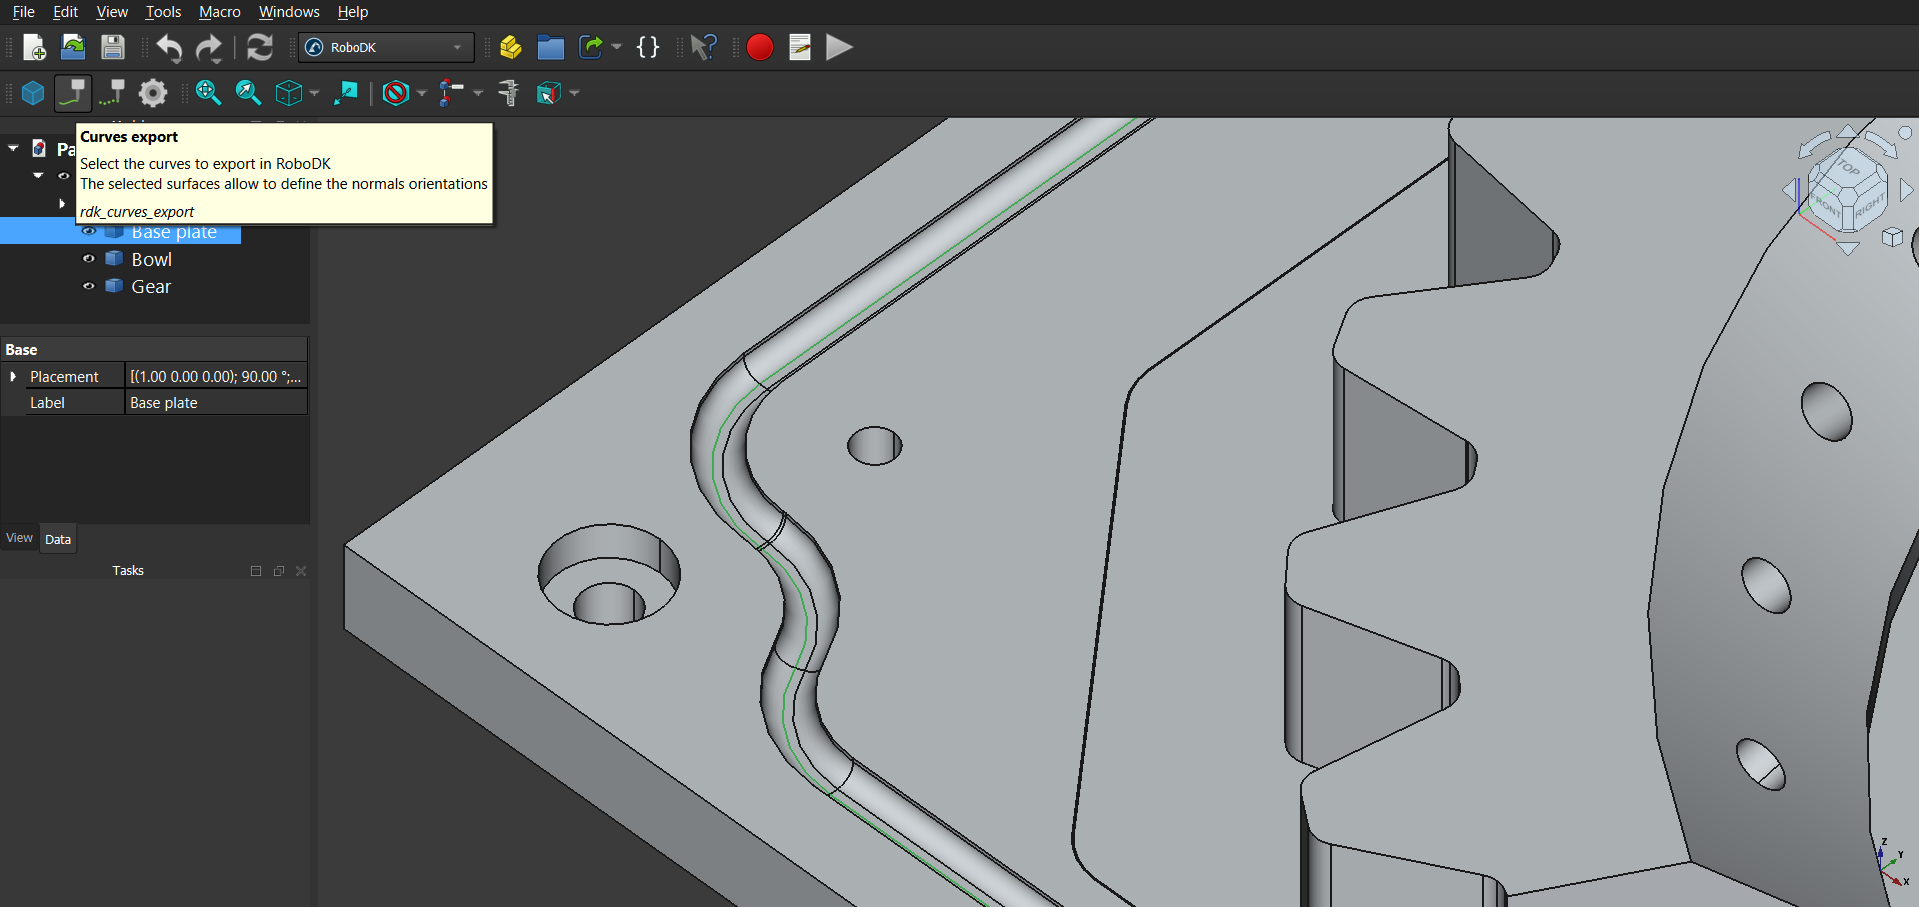
Load Curves
The Load Curves button loads the selected curves (edges) in RoboDK.
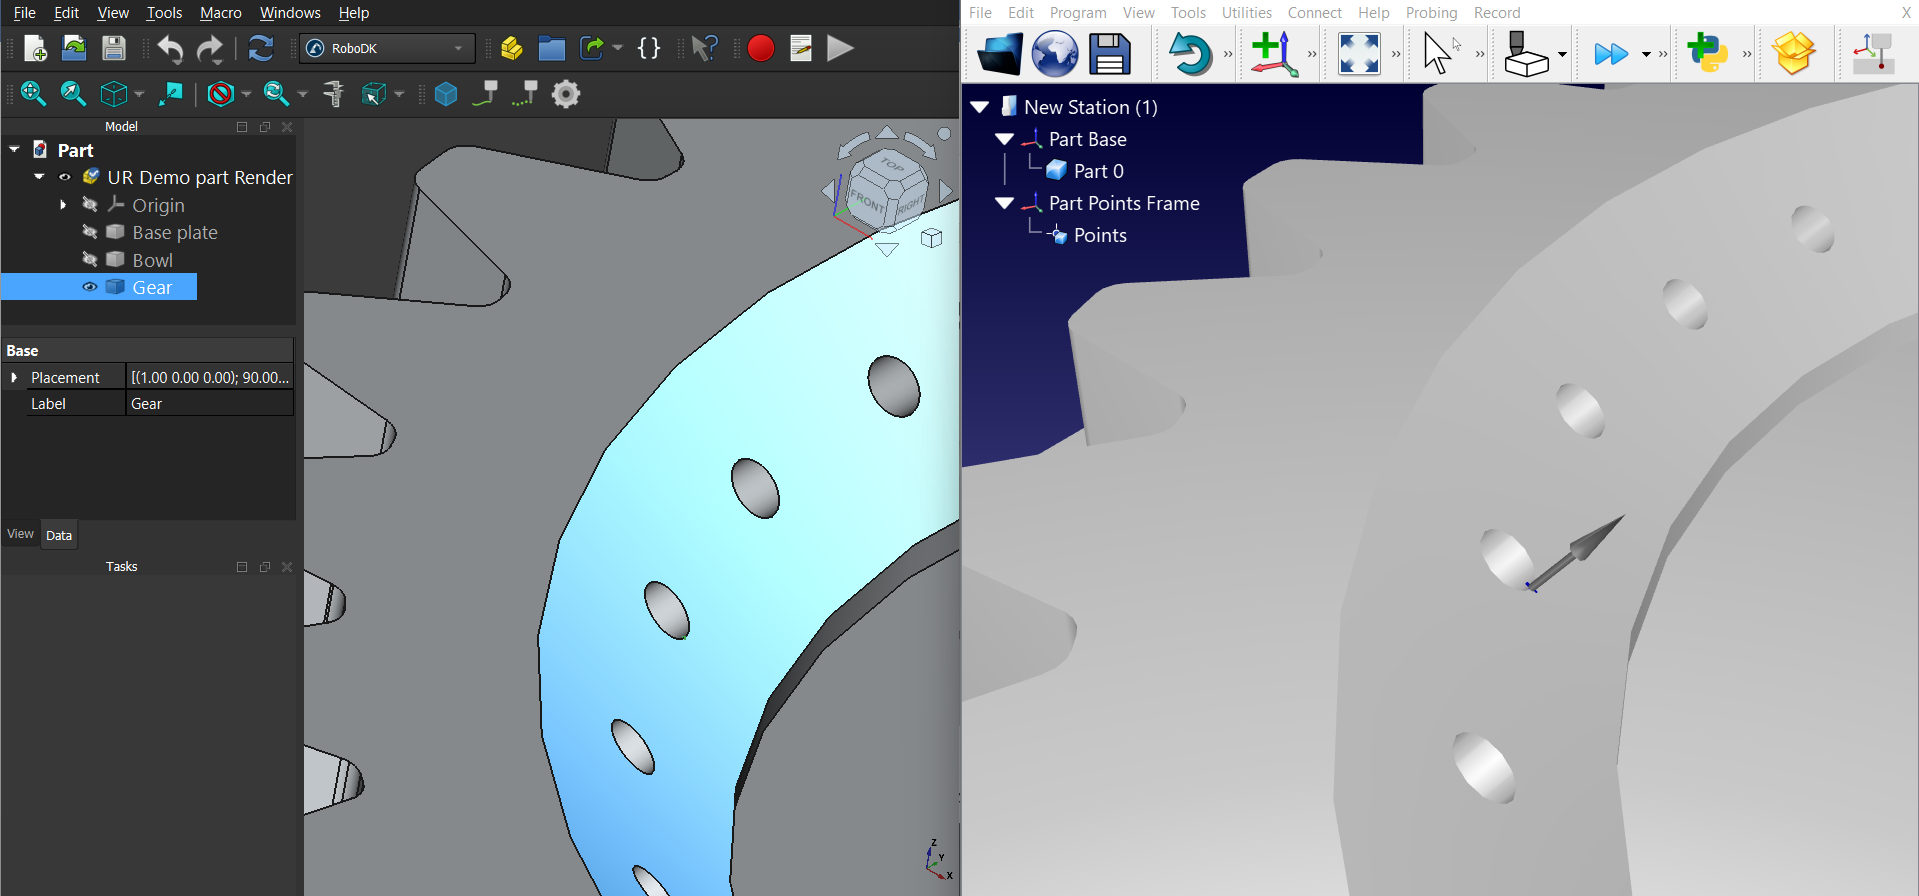
Load Points
The Load Points button loads the selected points in RoboDK.
Add-in Settings
Select Settings to open the settings related to the RoboDK Add-in for FreeCAD.
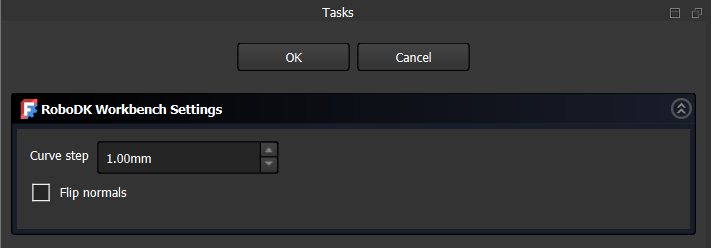
You can modify the following options:
1.Curve step – curve split step value for the exported curves.
2.Flip normal – changes the orientations of normals for exported surfaces or points.
Example
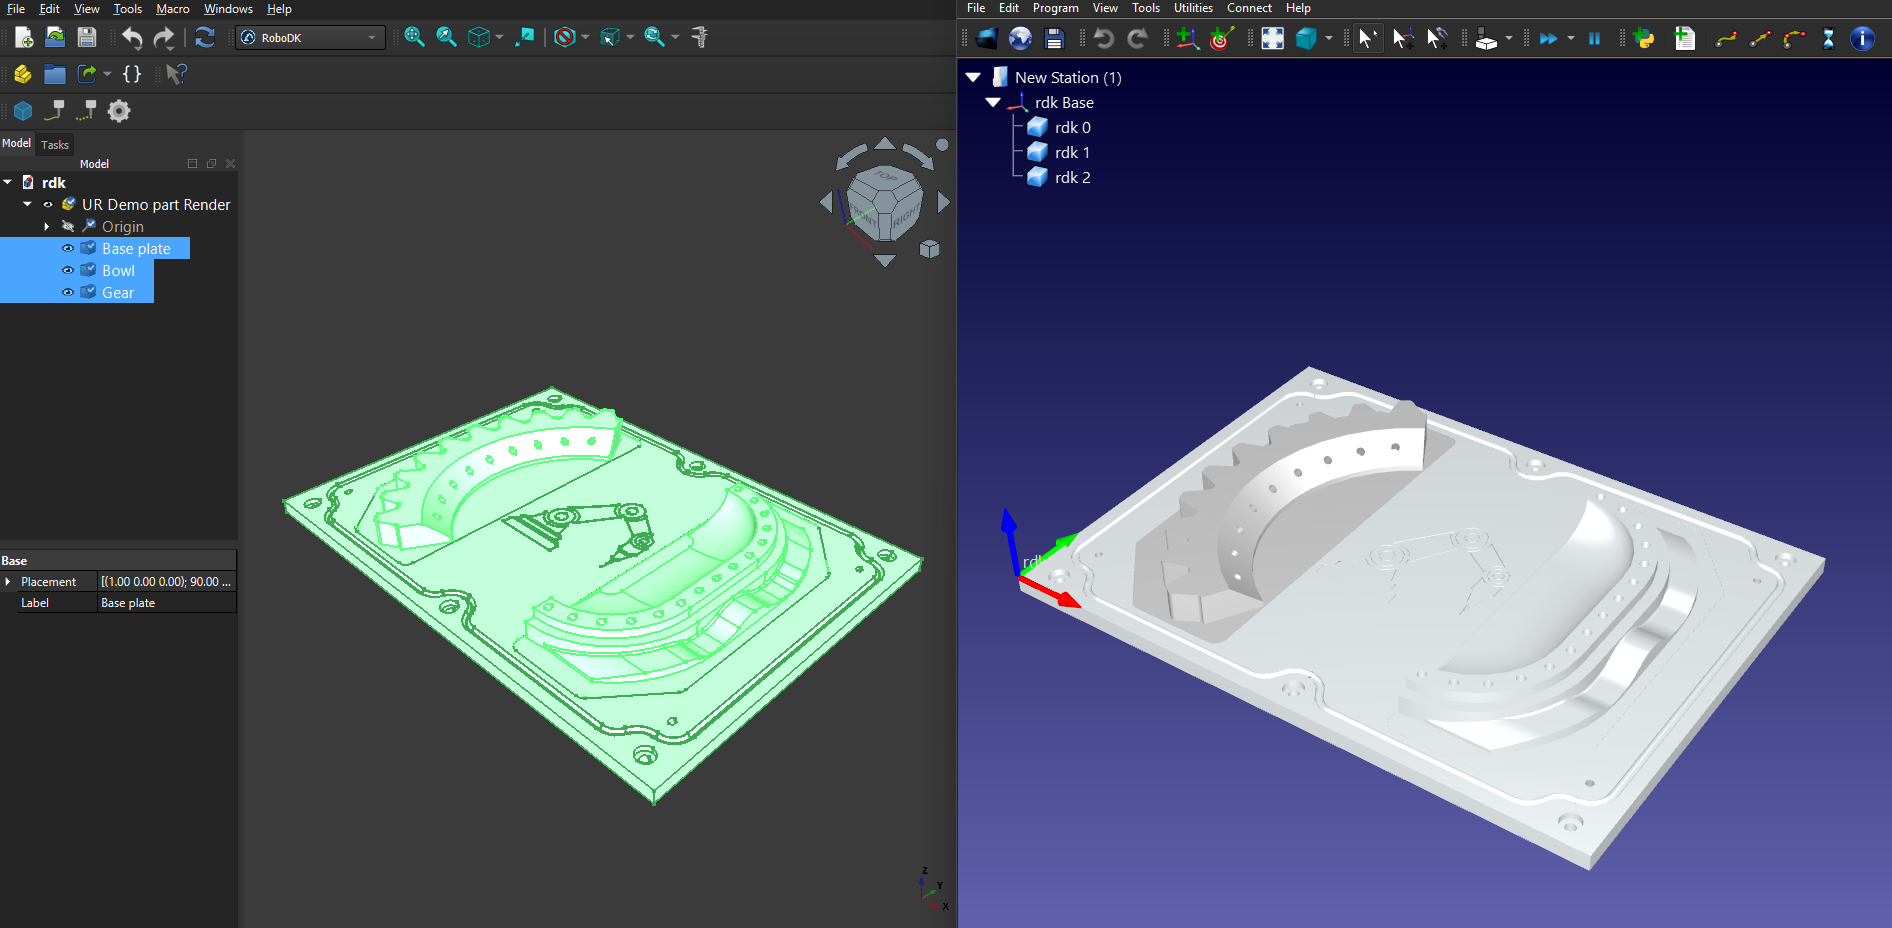
This example shows how to load a 3D model and a selected curve (edge) from FreeCAD to RoboDK.
1.Load the model in FreeCAD by selecting the Load Model button.
2.Set up your station in RoboDK with a robot and other required objects in its surrounding environment.
3.Select parts or bodies of your model that you would like to load in RoboDK from the FreeCAD model tree.
4.In the RoboDK Add-in tab from FreeCAD, select Load Model to load the selected model parts in RoboDK.
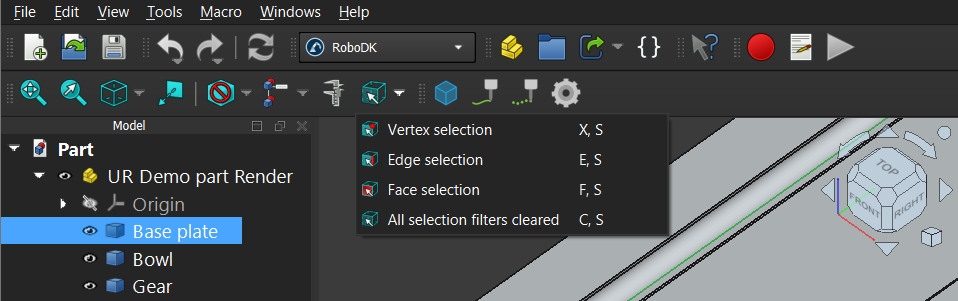
5.Select the edges (curves) that you want to see in RoboDK and click on Load Curves from the RoboDK Add-in tab in FreeCAD.
6.If you want to specify the orientation of the curve normal, select the corresponding faces to define their angle while selecting the curves.
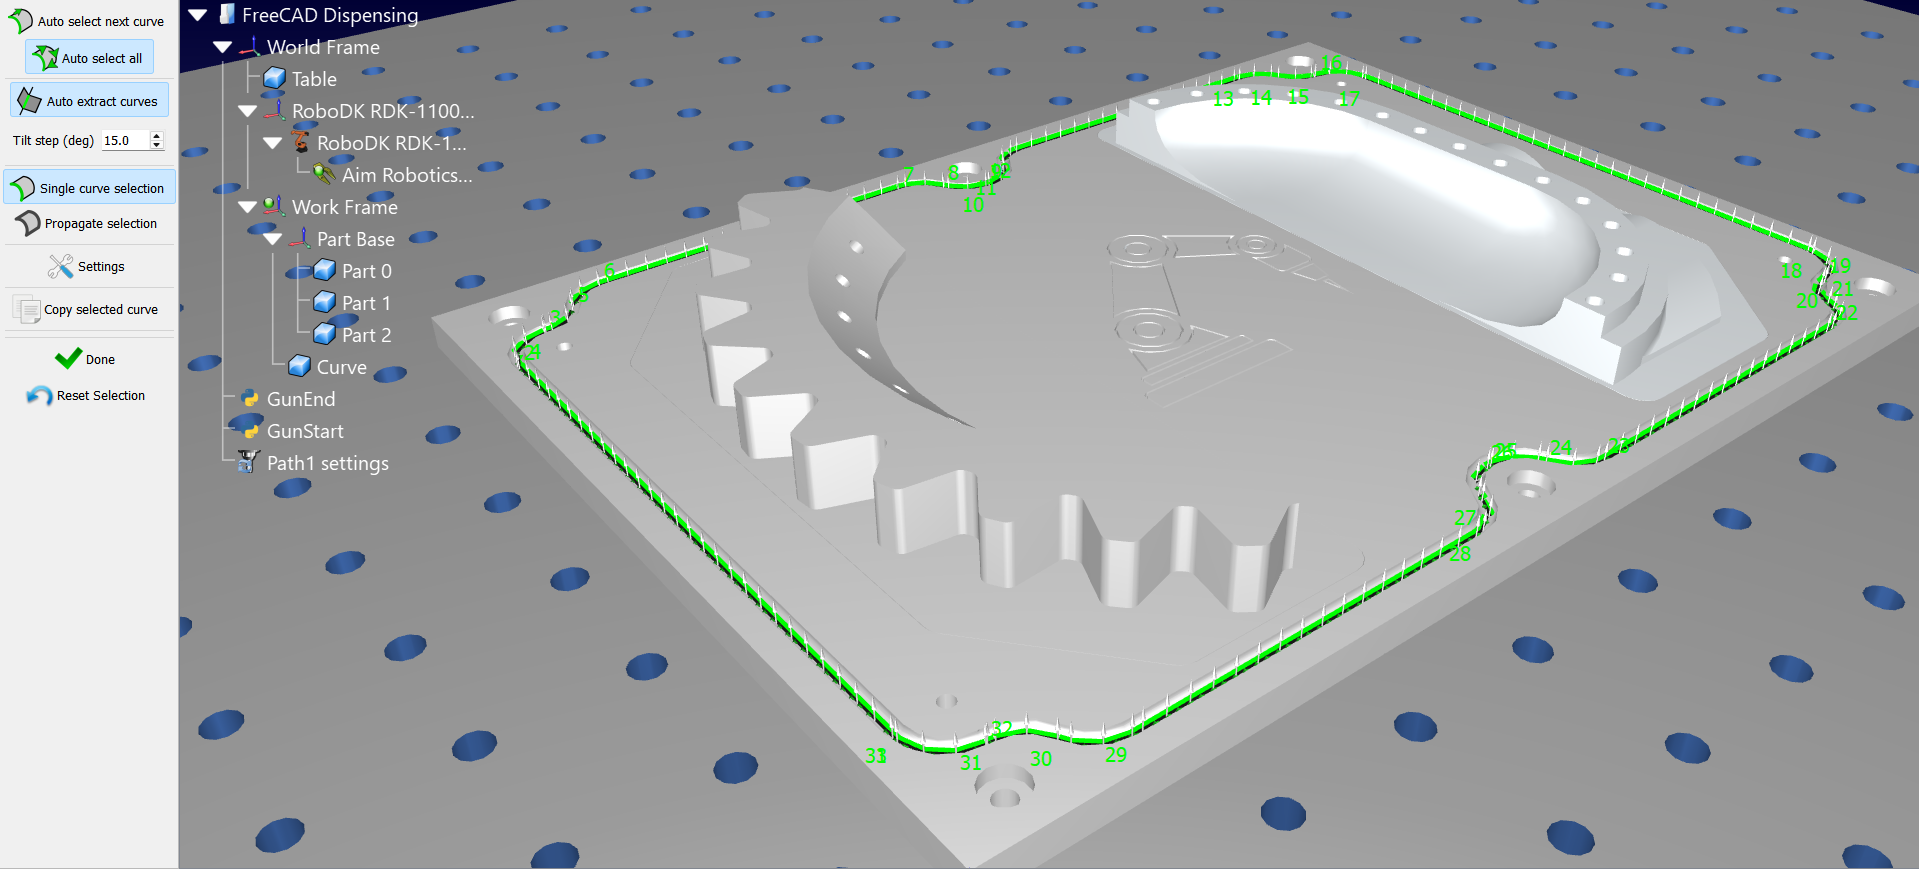
7.Check the export result in RoboDK.
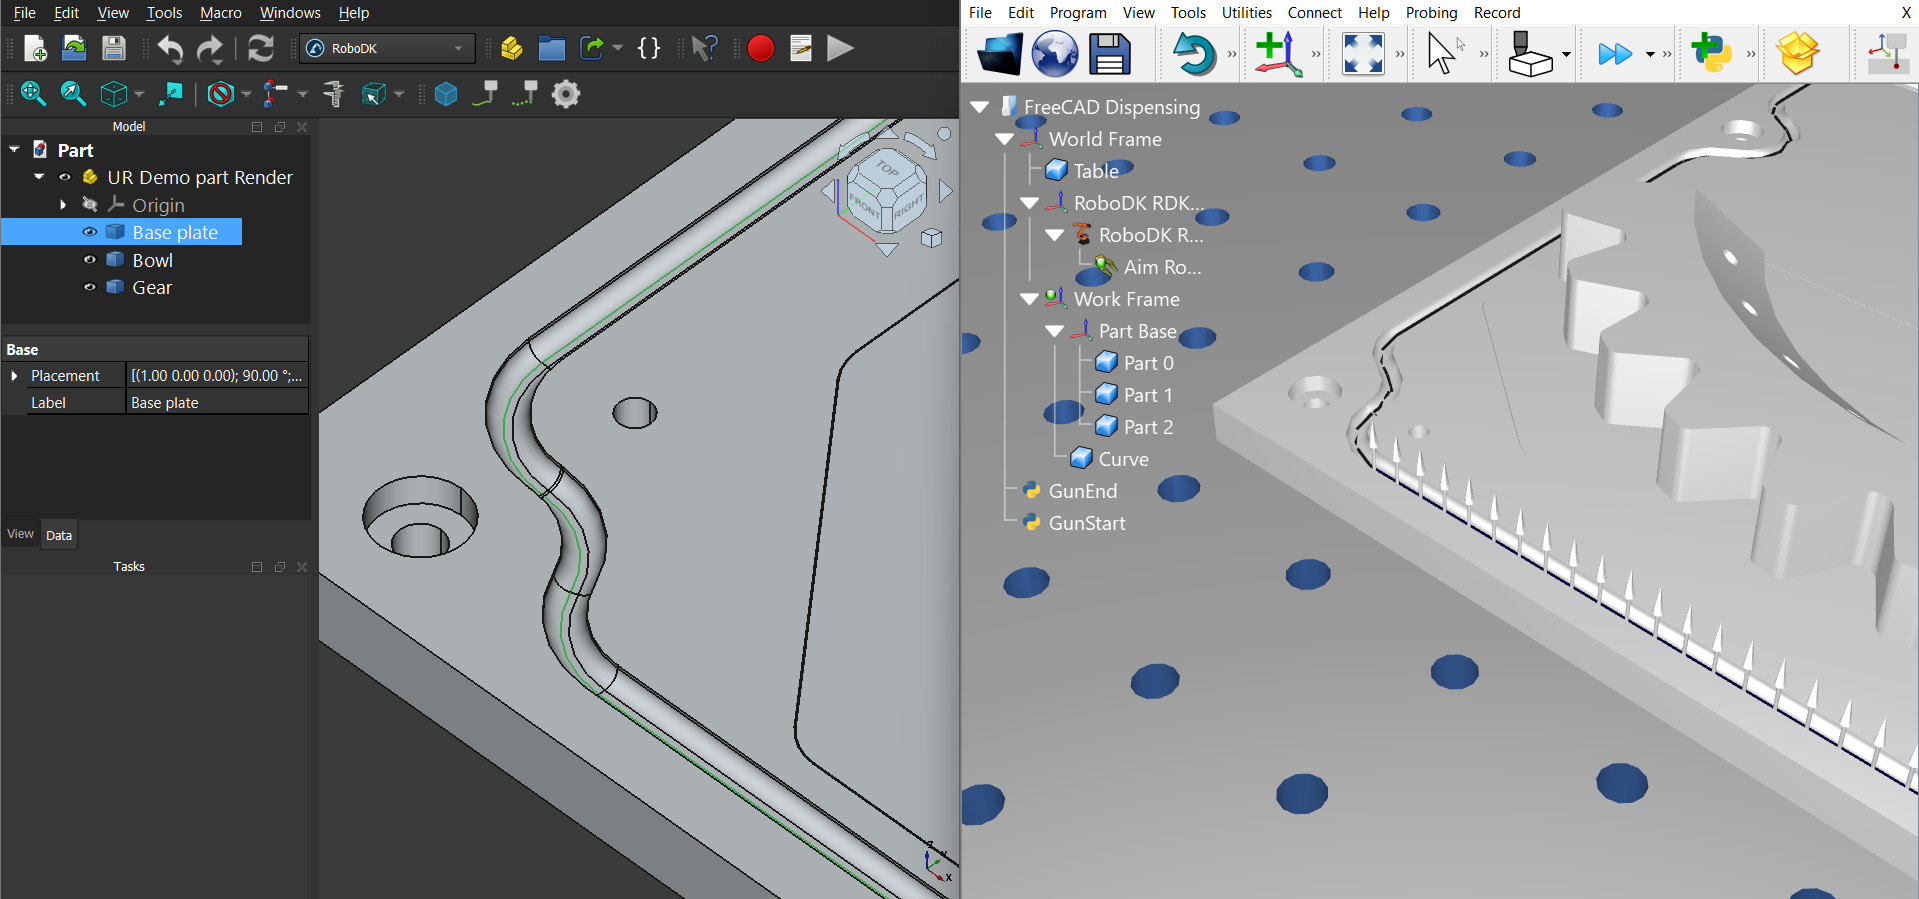
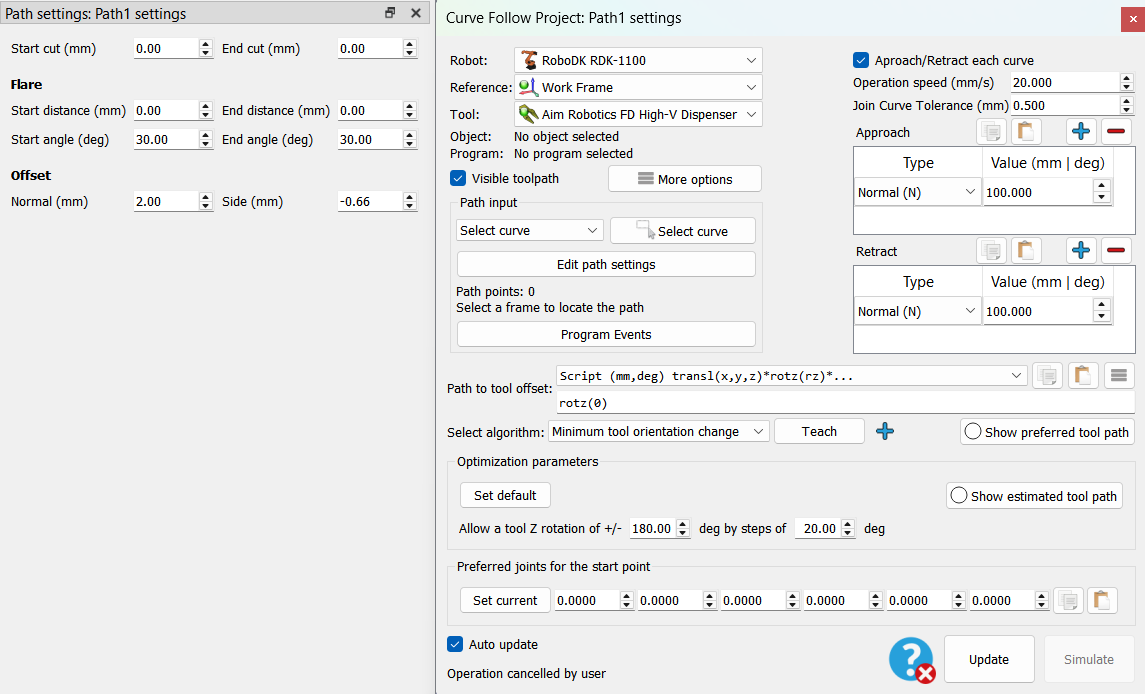
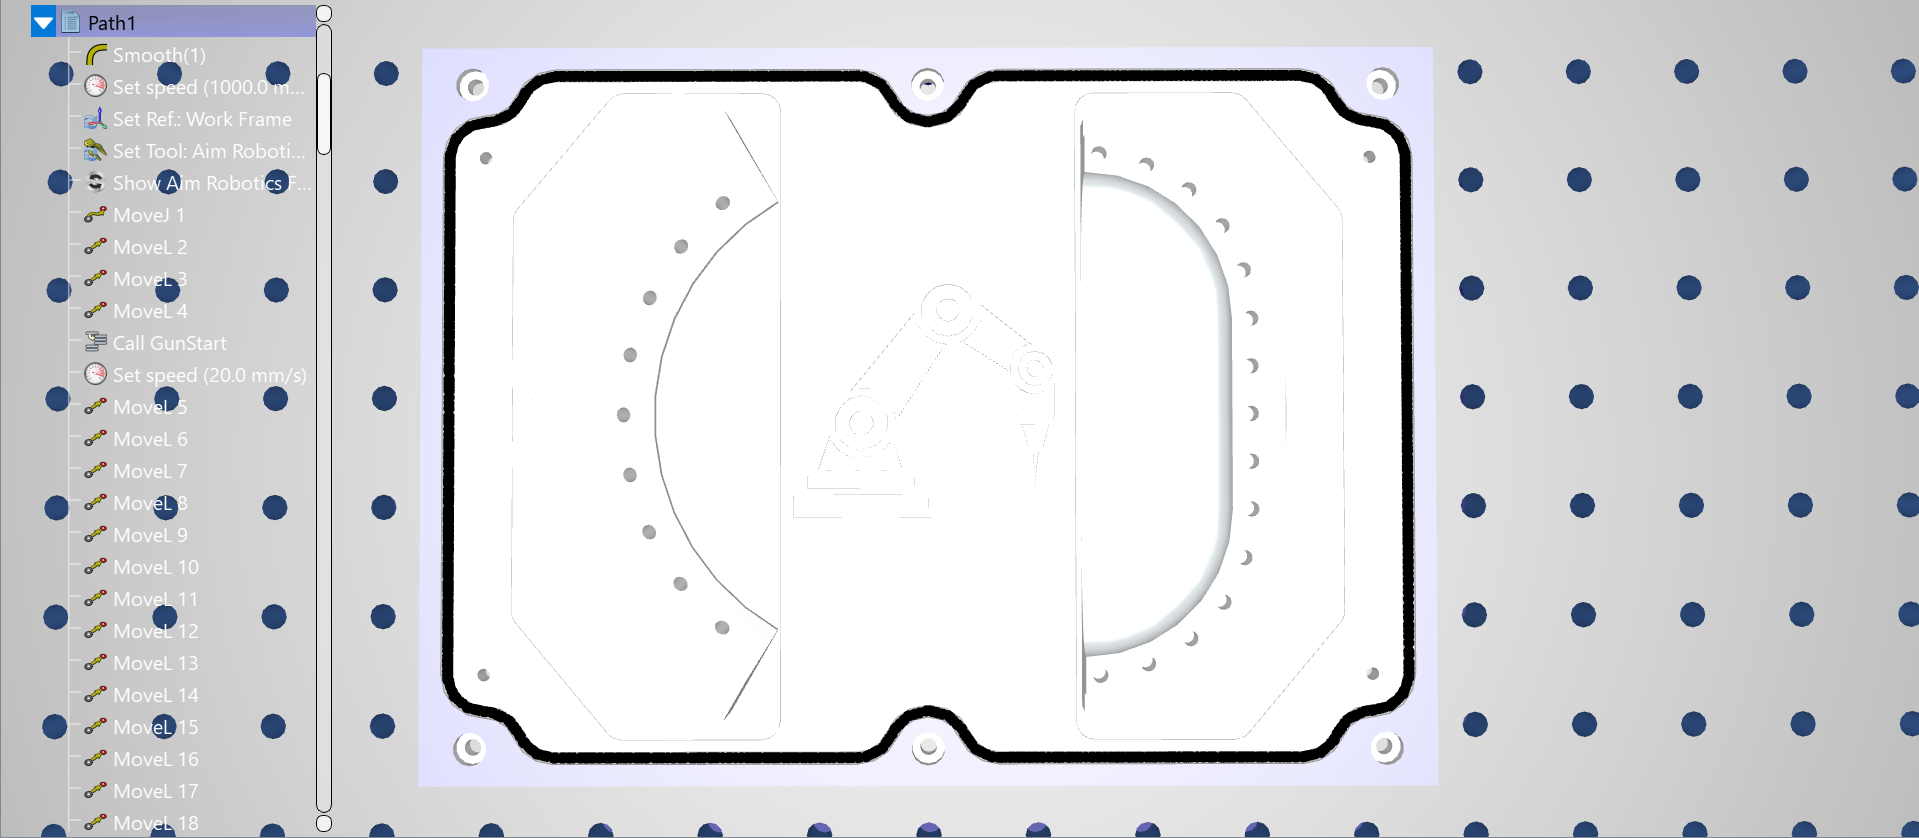
8.Create a Curve Follow Project (under Utilities) with necessary changes to parameters such as offsets and operation speed.
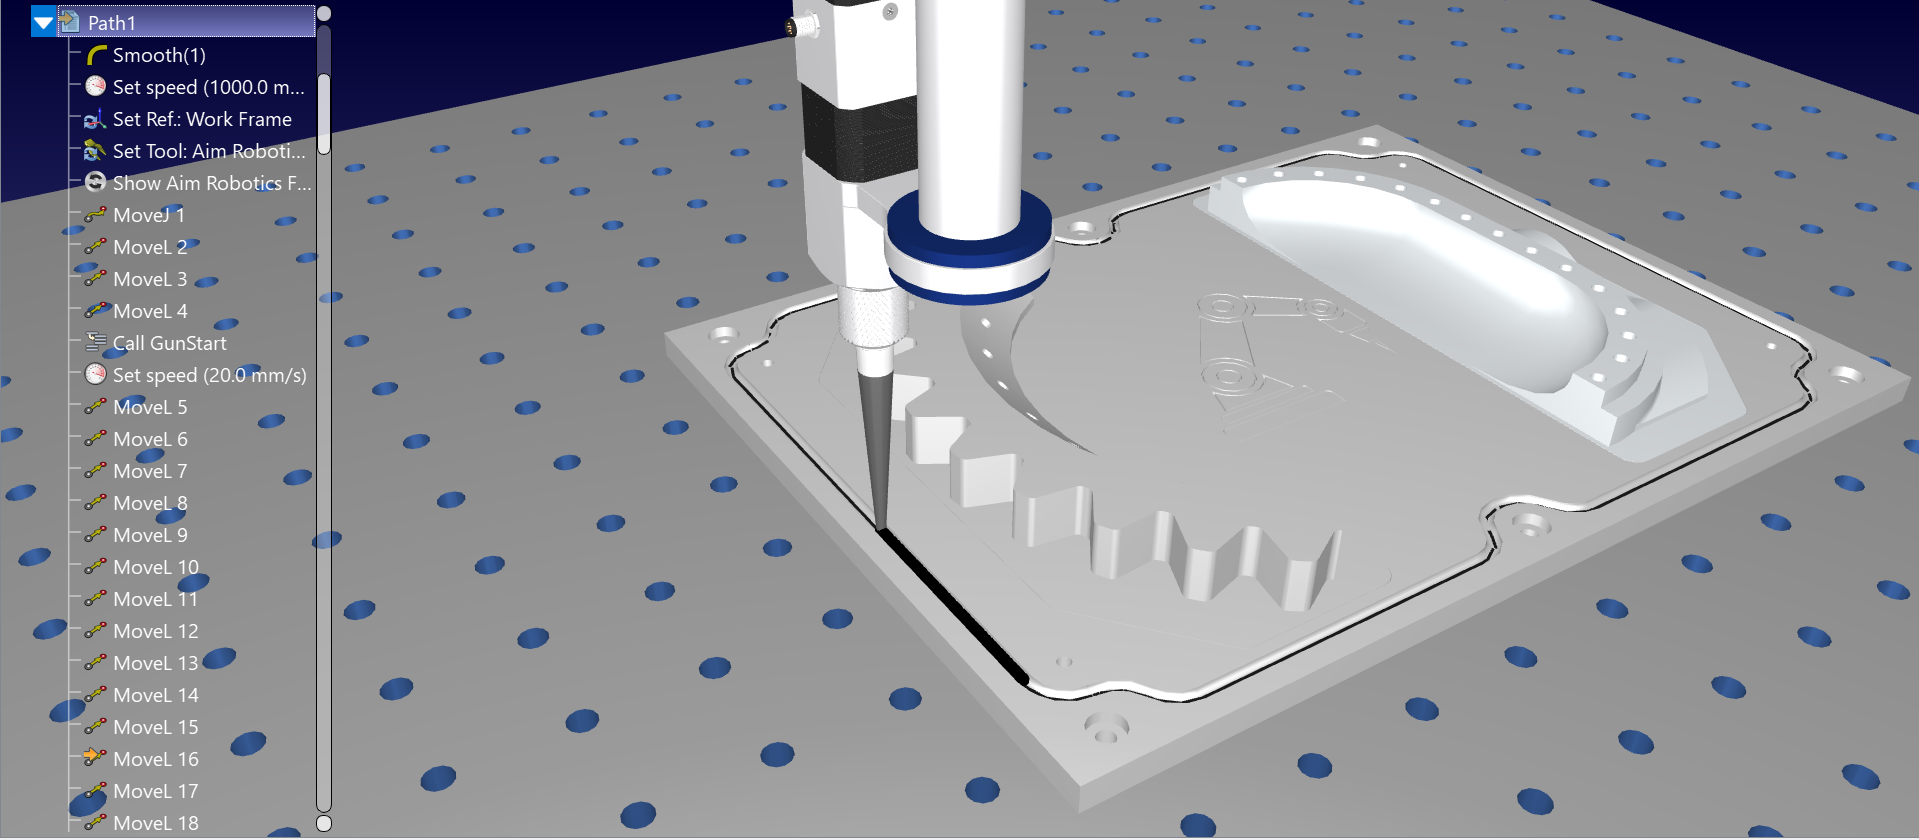
9.After the program for path is created for this project, right-click on it to enable Show Instructions. You can now edit the program to add GunStart and GunEnd python scripts (using Program Call Instruction) to simulate dispensing. Change the necessary parameters like color and radius of the material being dispensed by editing the GunStart script.
Manual Install
These are manual steps to setup the RoboDK Add-in for FreeCAD. You should follow these steps if the RoboDK add-in for FreeCAD was not automatically installed by default using the RoboDK installer:
1.Make sure you are using the latest version of RoboDK: https://robodk.com/download.
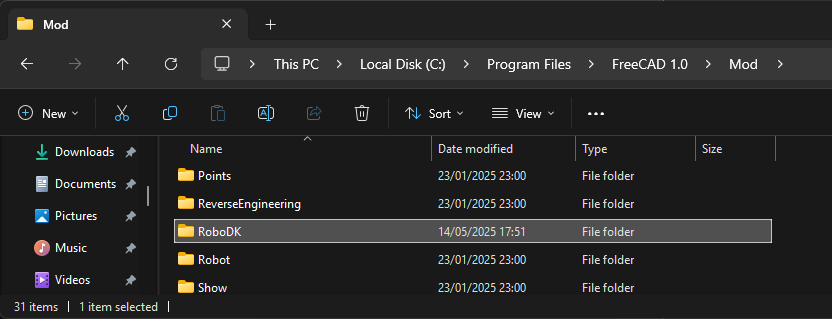
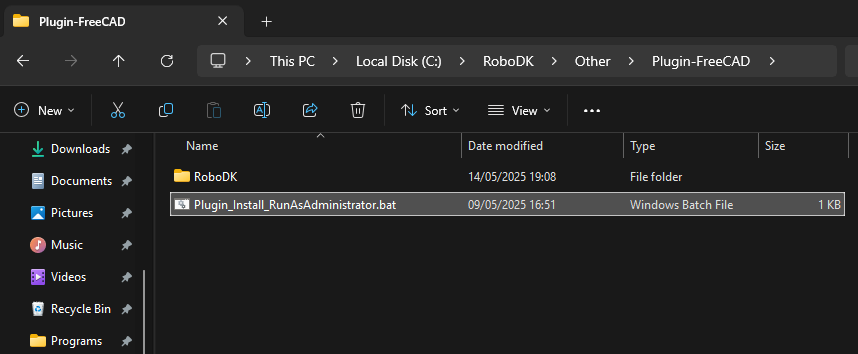
2.You’ll find the required files to install the RoboDK Add-in for FreeCAD in the folder: C:\RoboDK\Other\Plugin-FreeCAD\.
3.Right-click on the Plugin_Install_RunAsAdministrator.bat file and select Run as administrator.
If this process fails, you can copy the RoboDK folder to the FreeCAD Mod folder (C:\Program Files\FreeCAD 1.0\Mod):